State of the stable: bike fleet update winter/spring 2025
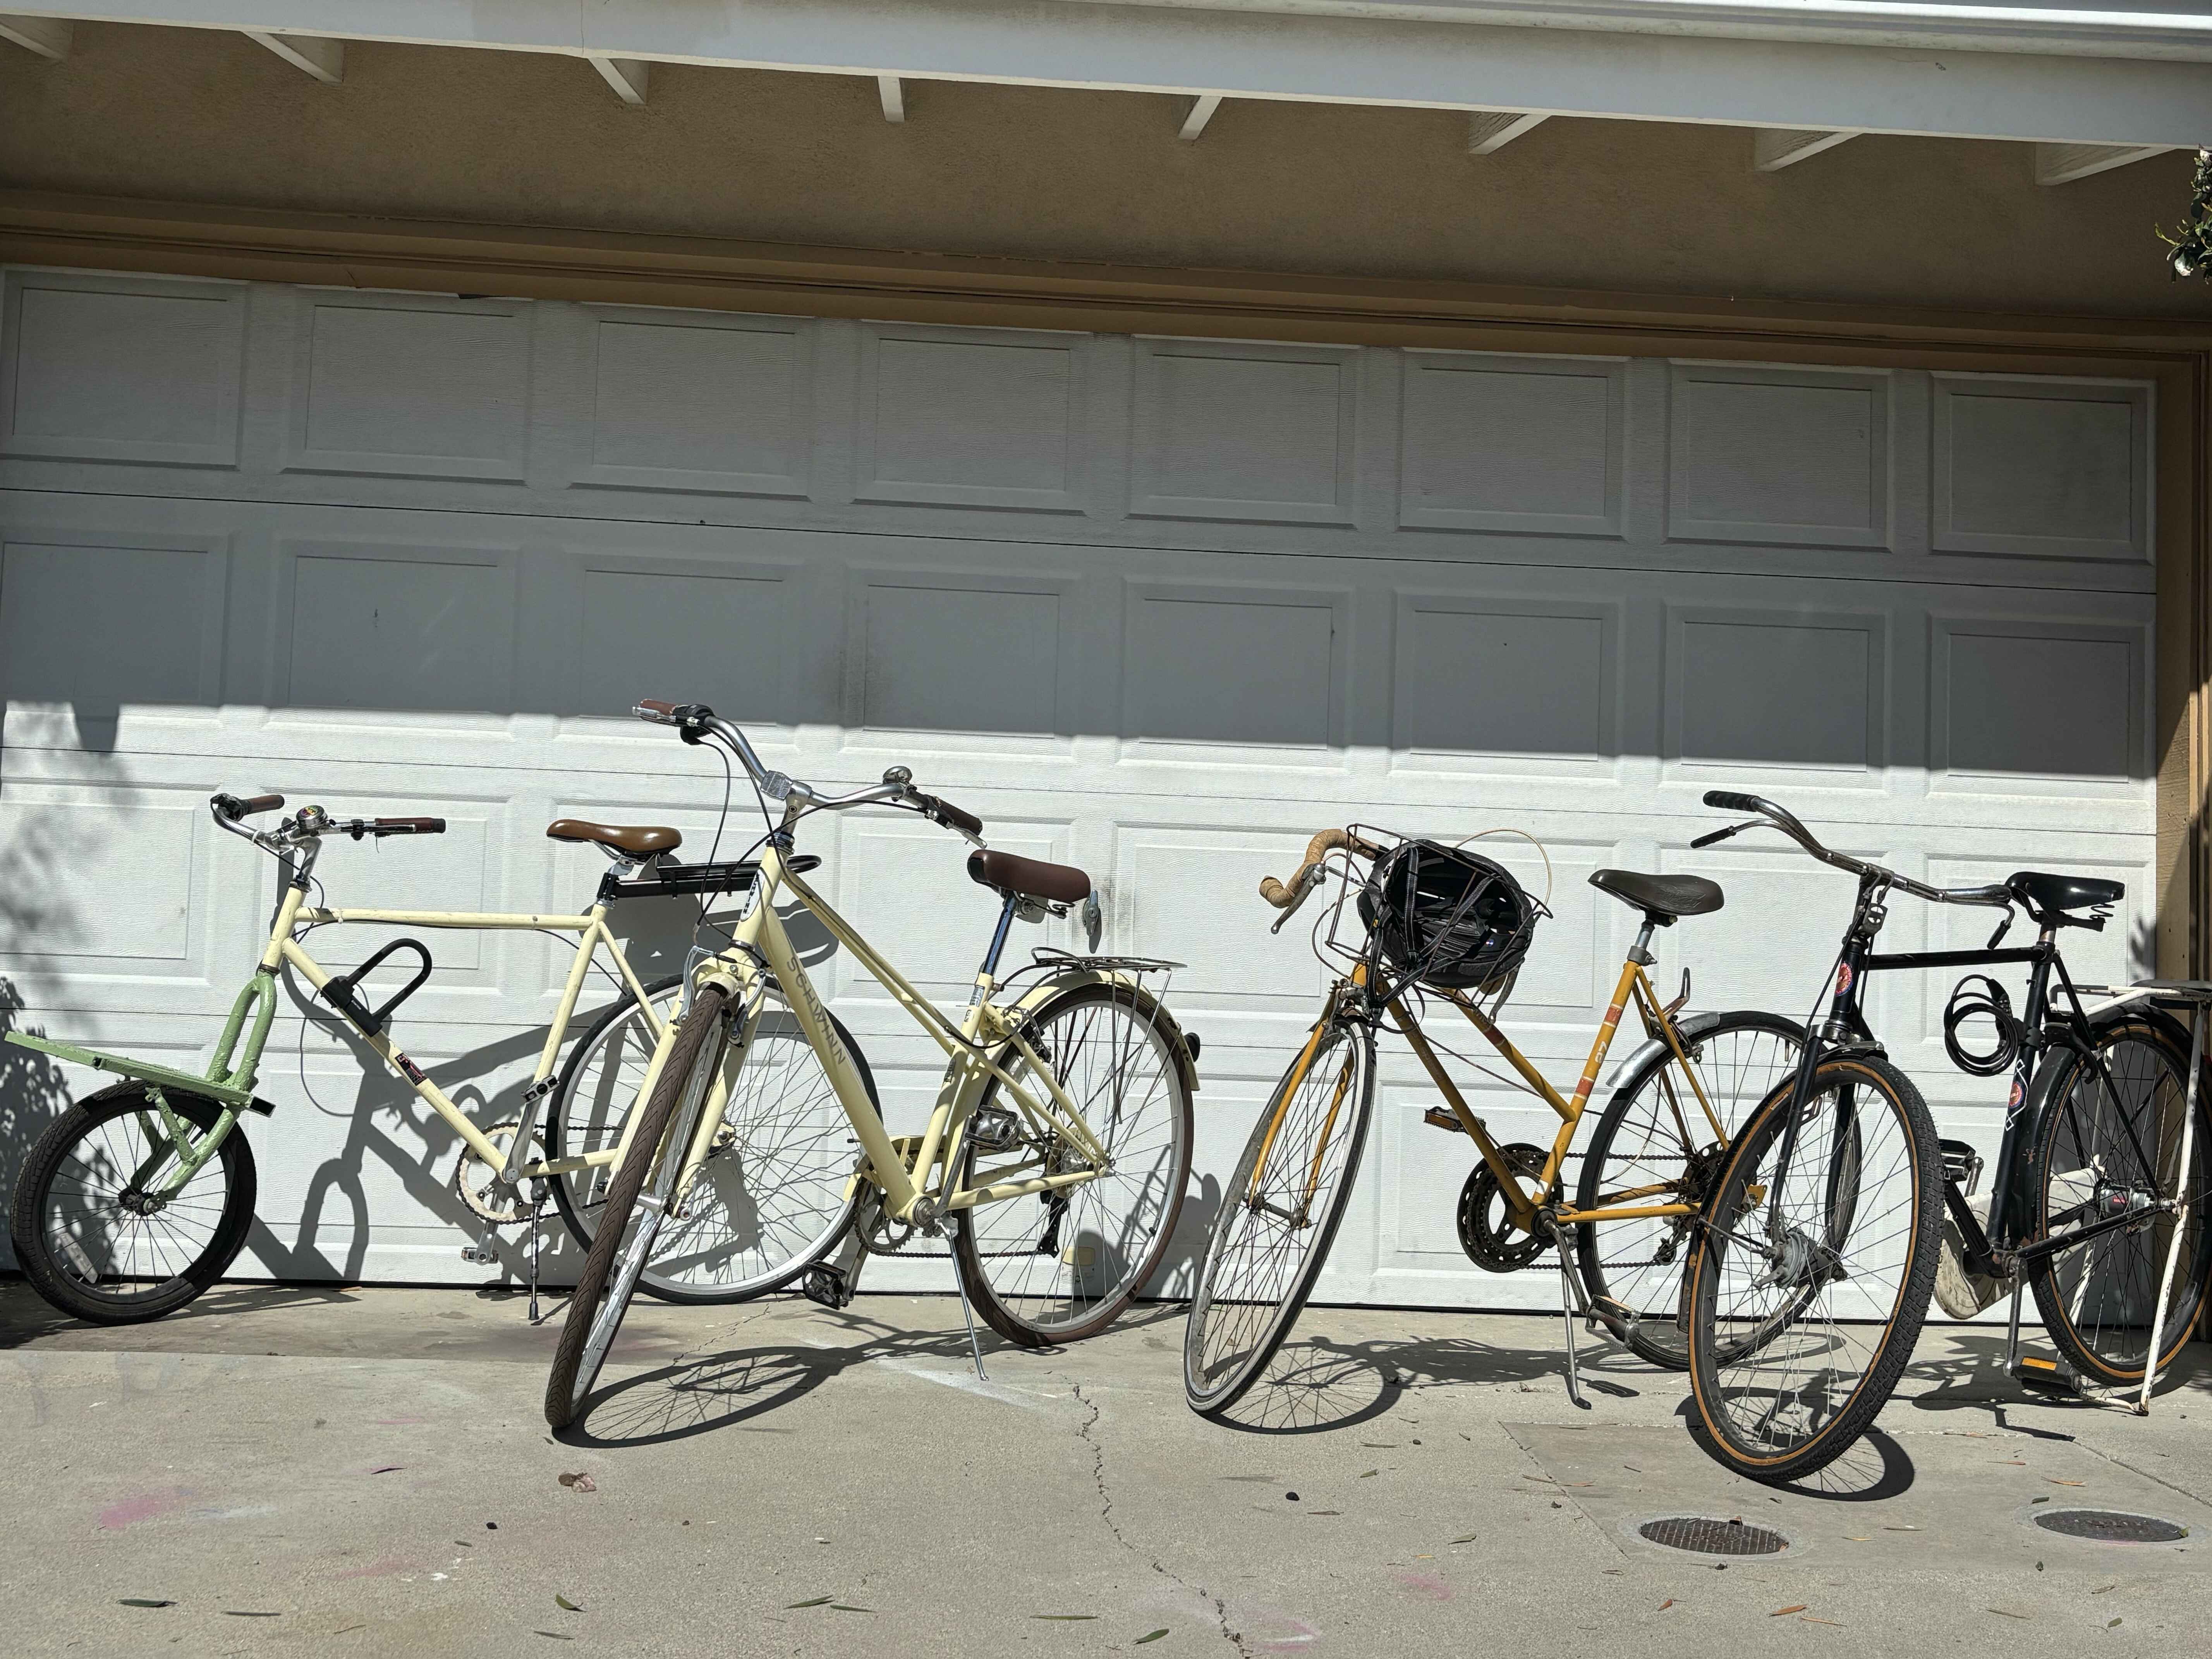
it seems that i find interesting bikes faster than i can write about them! last update i had two bikes and one mystery frame for a future project. now i have five bikes! (and the mystery frame is still mysterious) let's start with updates on the old ones.
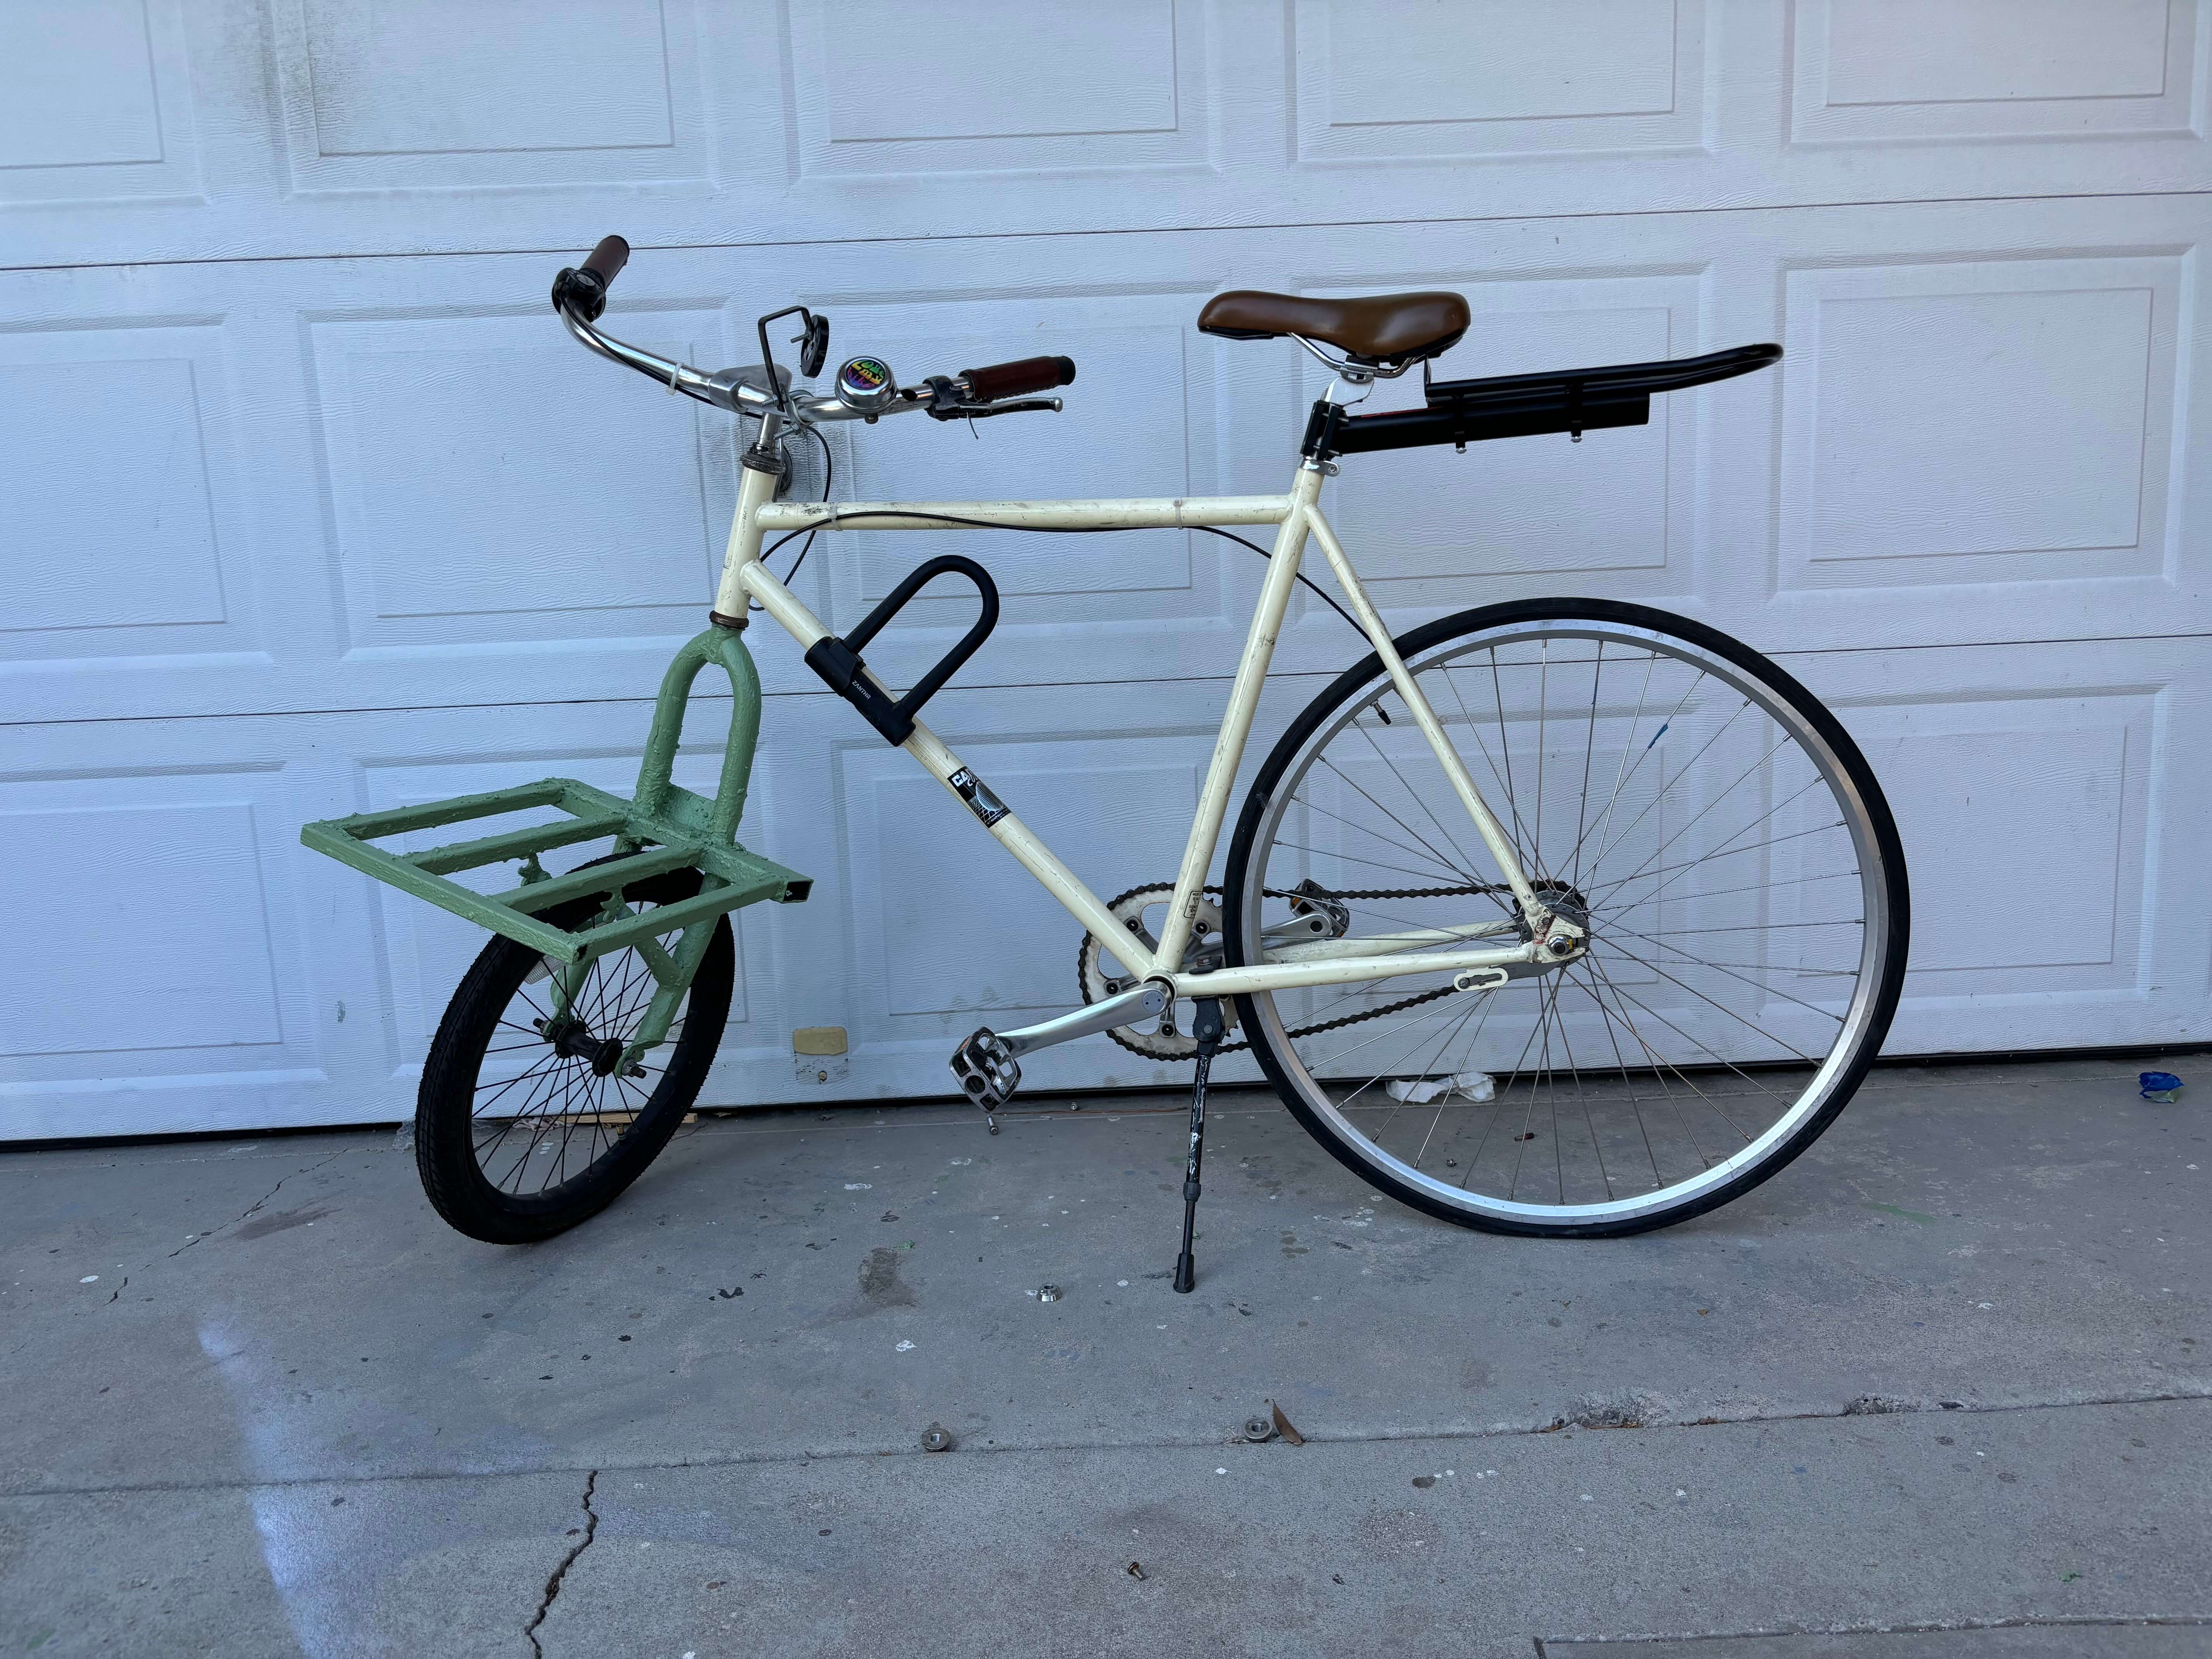
Vincent Von Voltage: Ebike in progress!
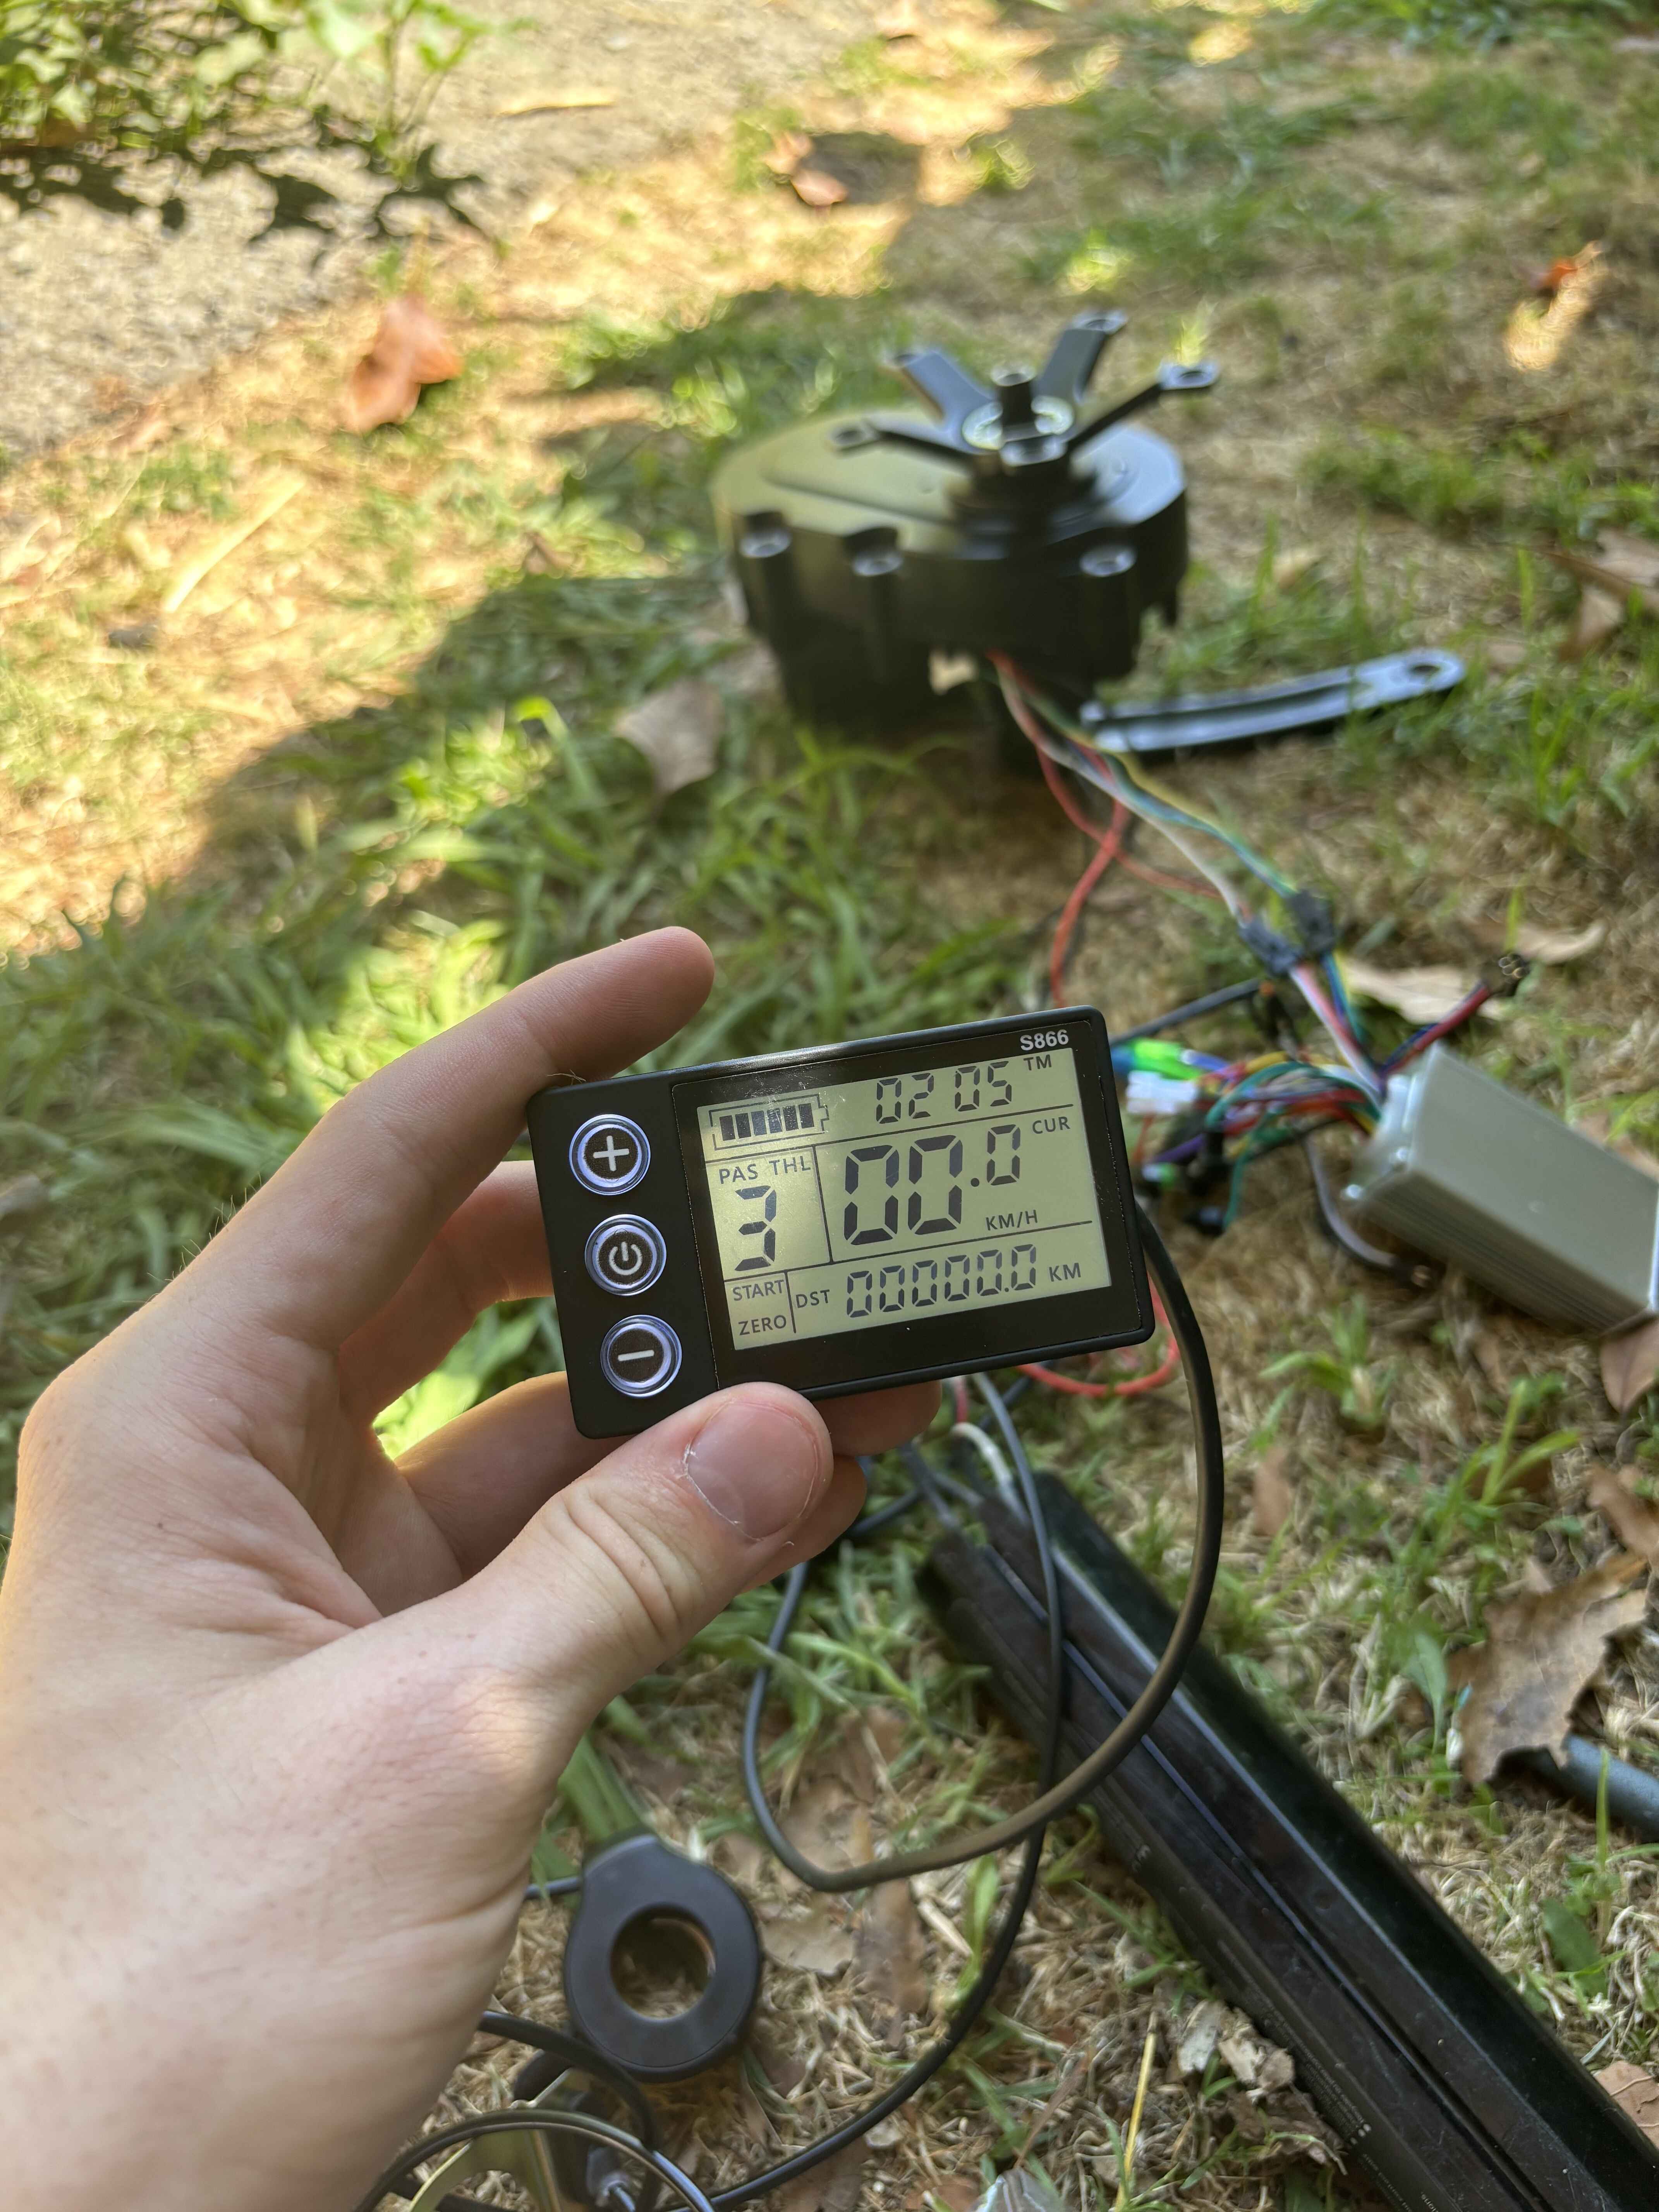
In my previous bike update, I mentioned that I had gotten a mid-drive ebike motor and a pair of scooter batteries for $100 and $40 respectively, with intention to install them on my cargo bike Vincent. Last May through July, Emily and I did a bunch of AliExpress shopping to get all the electronic bits and bobs to get the motor and batteries to actually work. Ebike electronics (and ebike parts in general) are a dizzying array of disparate standards, so it took some careful comparing of what we had, to blurry pictures of various parts. But after a few weeks we ended up with a motor controller, a throttle, an LCD display, a pedal-assist sensor, and a battery charger that all worked together. with great excitement, we watched as the motor spun at any speed we commanded!
The next step was to fit the motor into the bike mechanically. because it's a mid-drive unit, this is a lot more involved than a front wheel hub motor would be. i need to make a bracket that the motor case can bolt into, which will probably involve getting some sheet metal cut to an exact design. pesky little things like "having a job" and "finding more bikes" have caused me to kick that particular can down the road for several months, but i hope to get back to it soon.
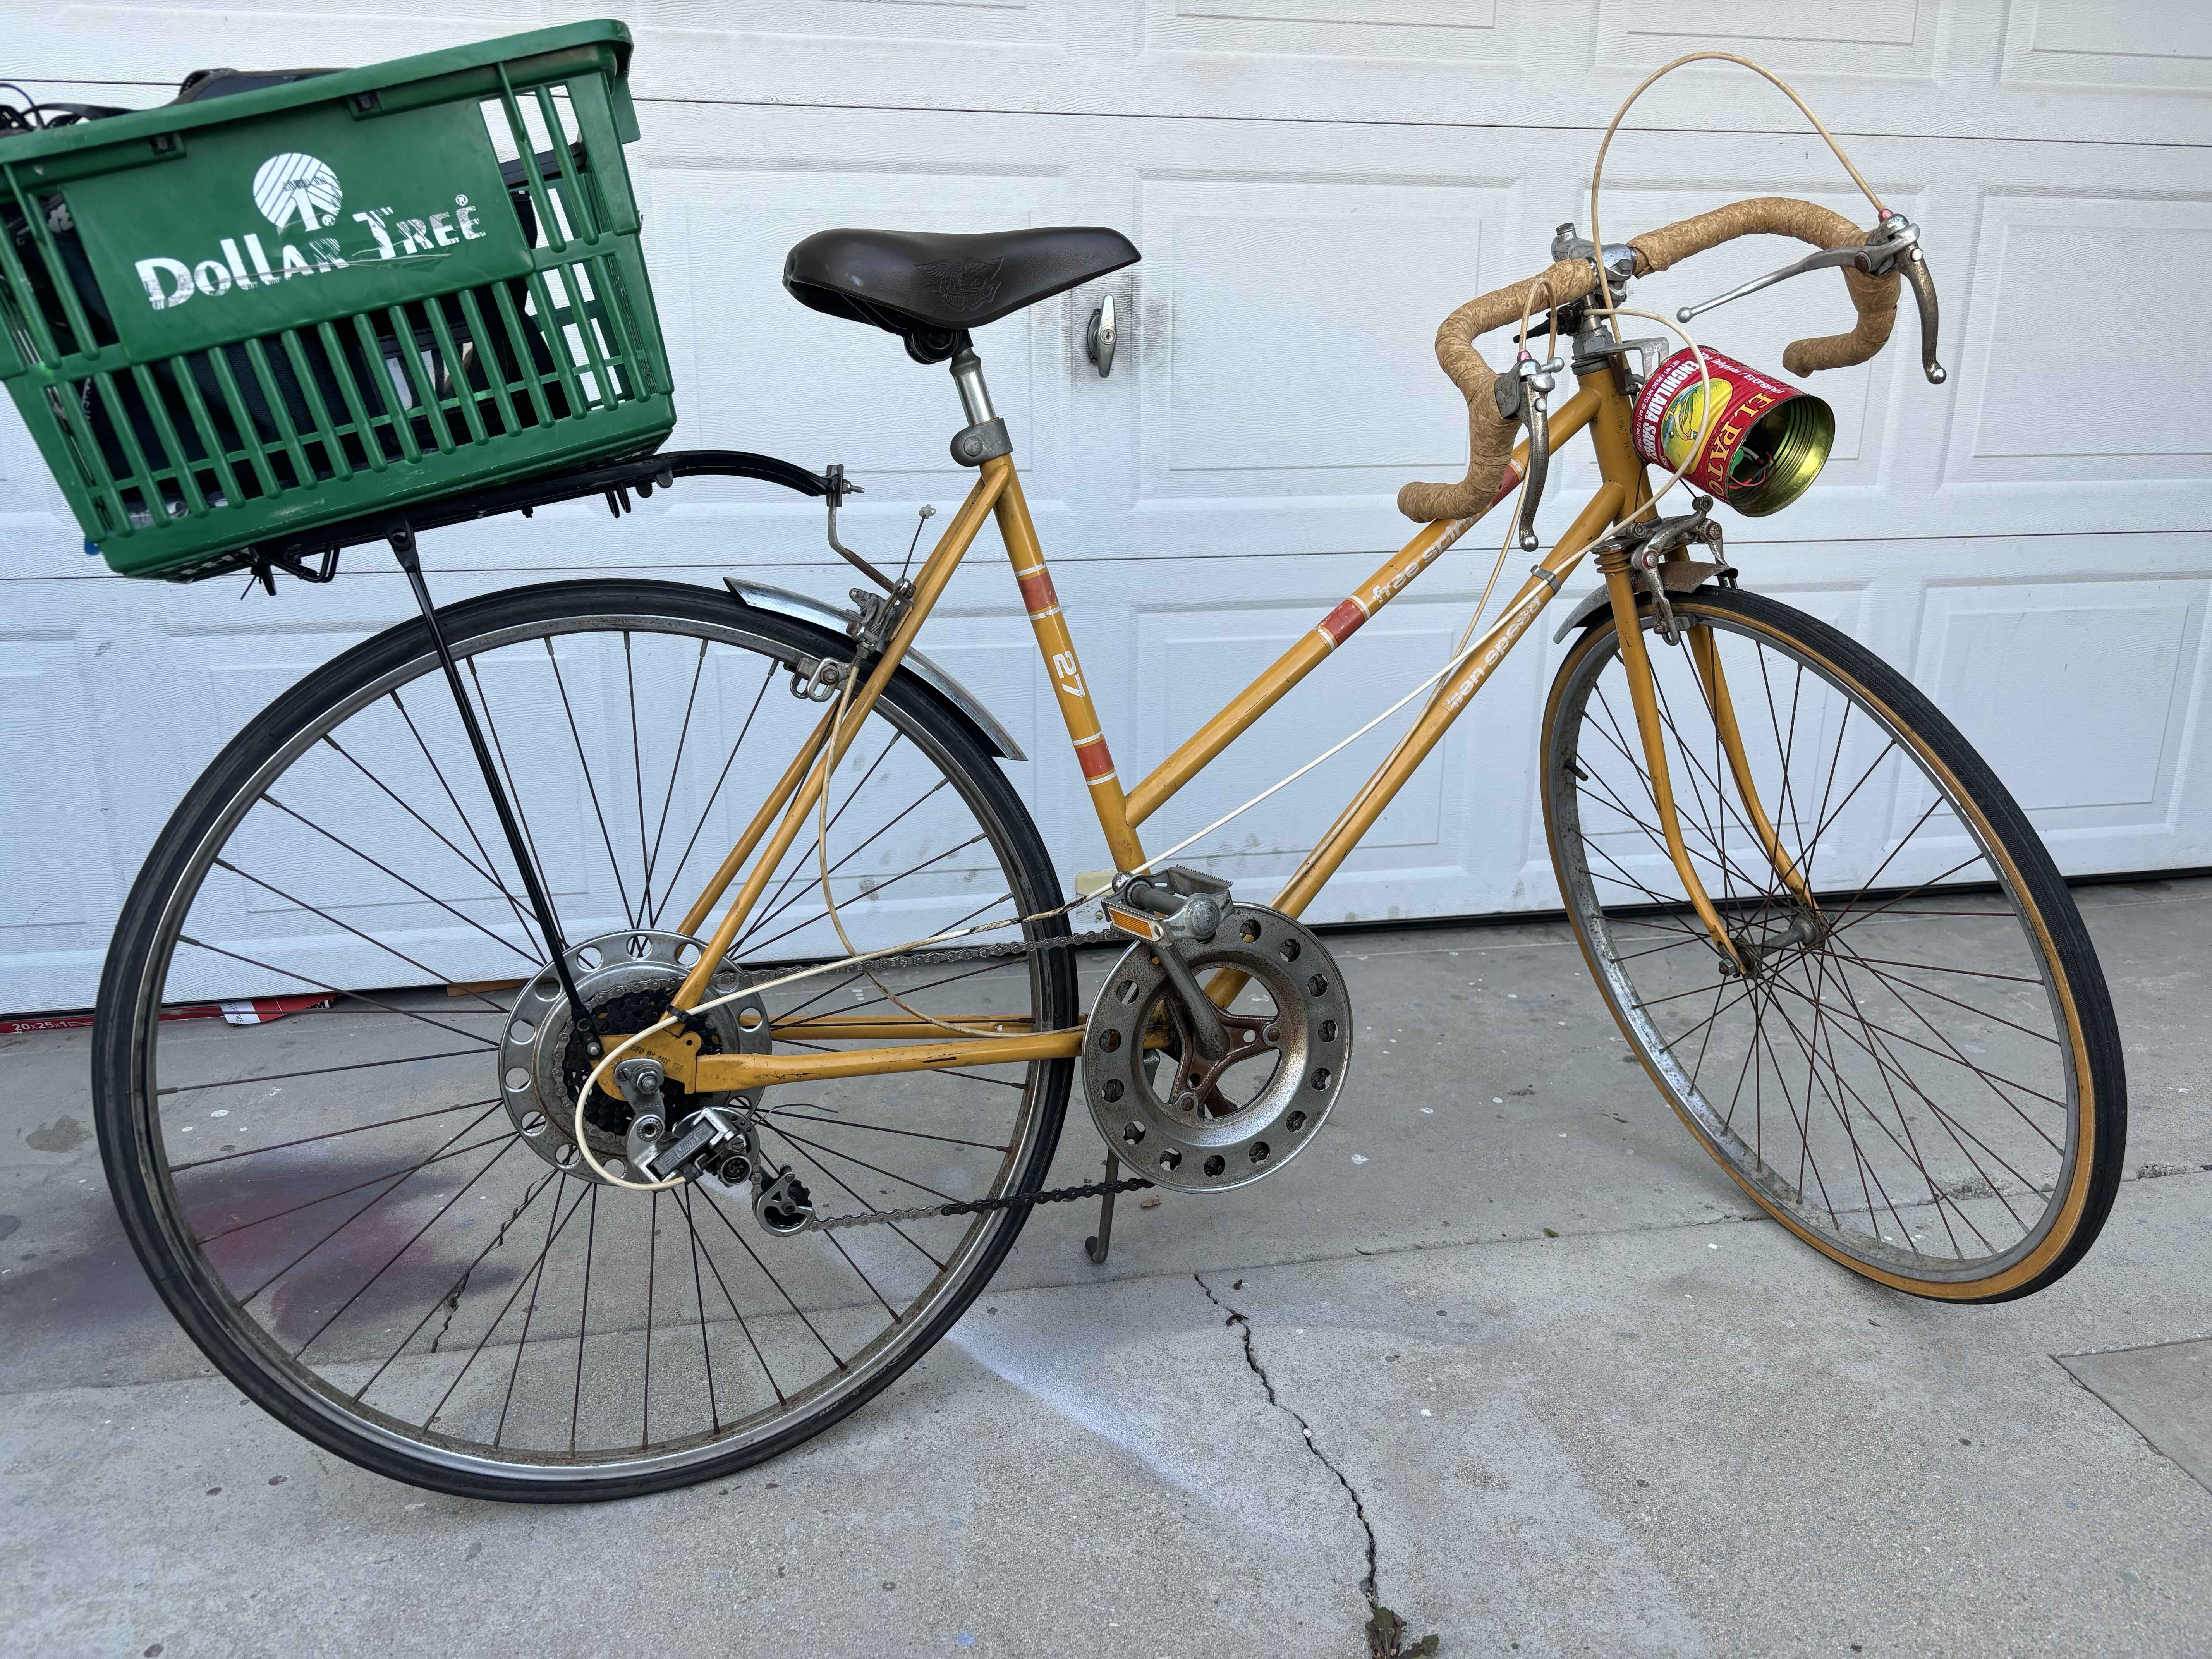
Lettuce jr: the bike of constant sorrows
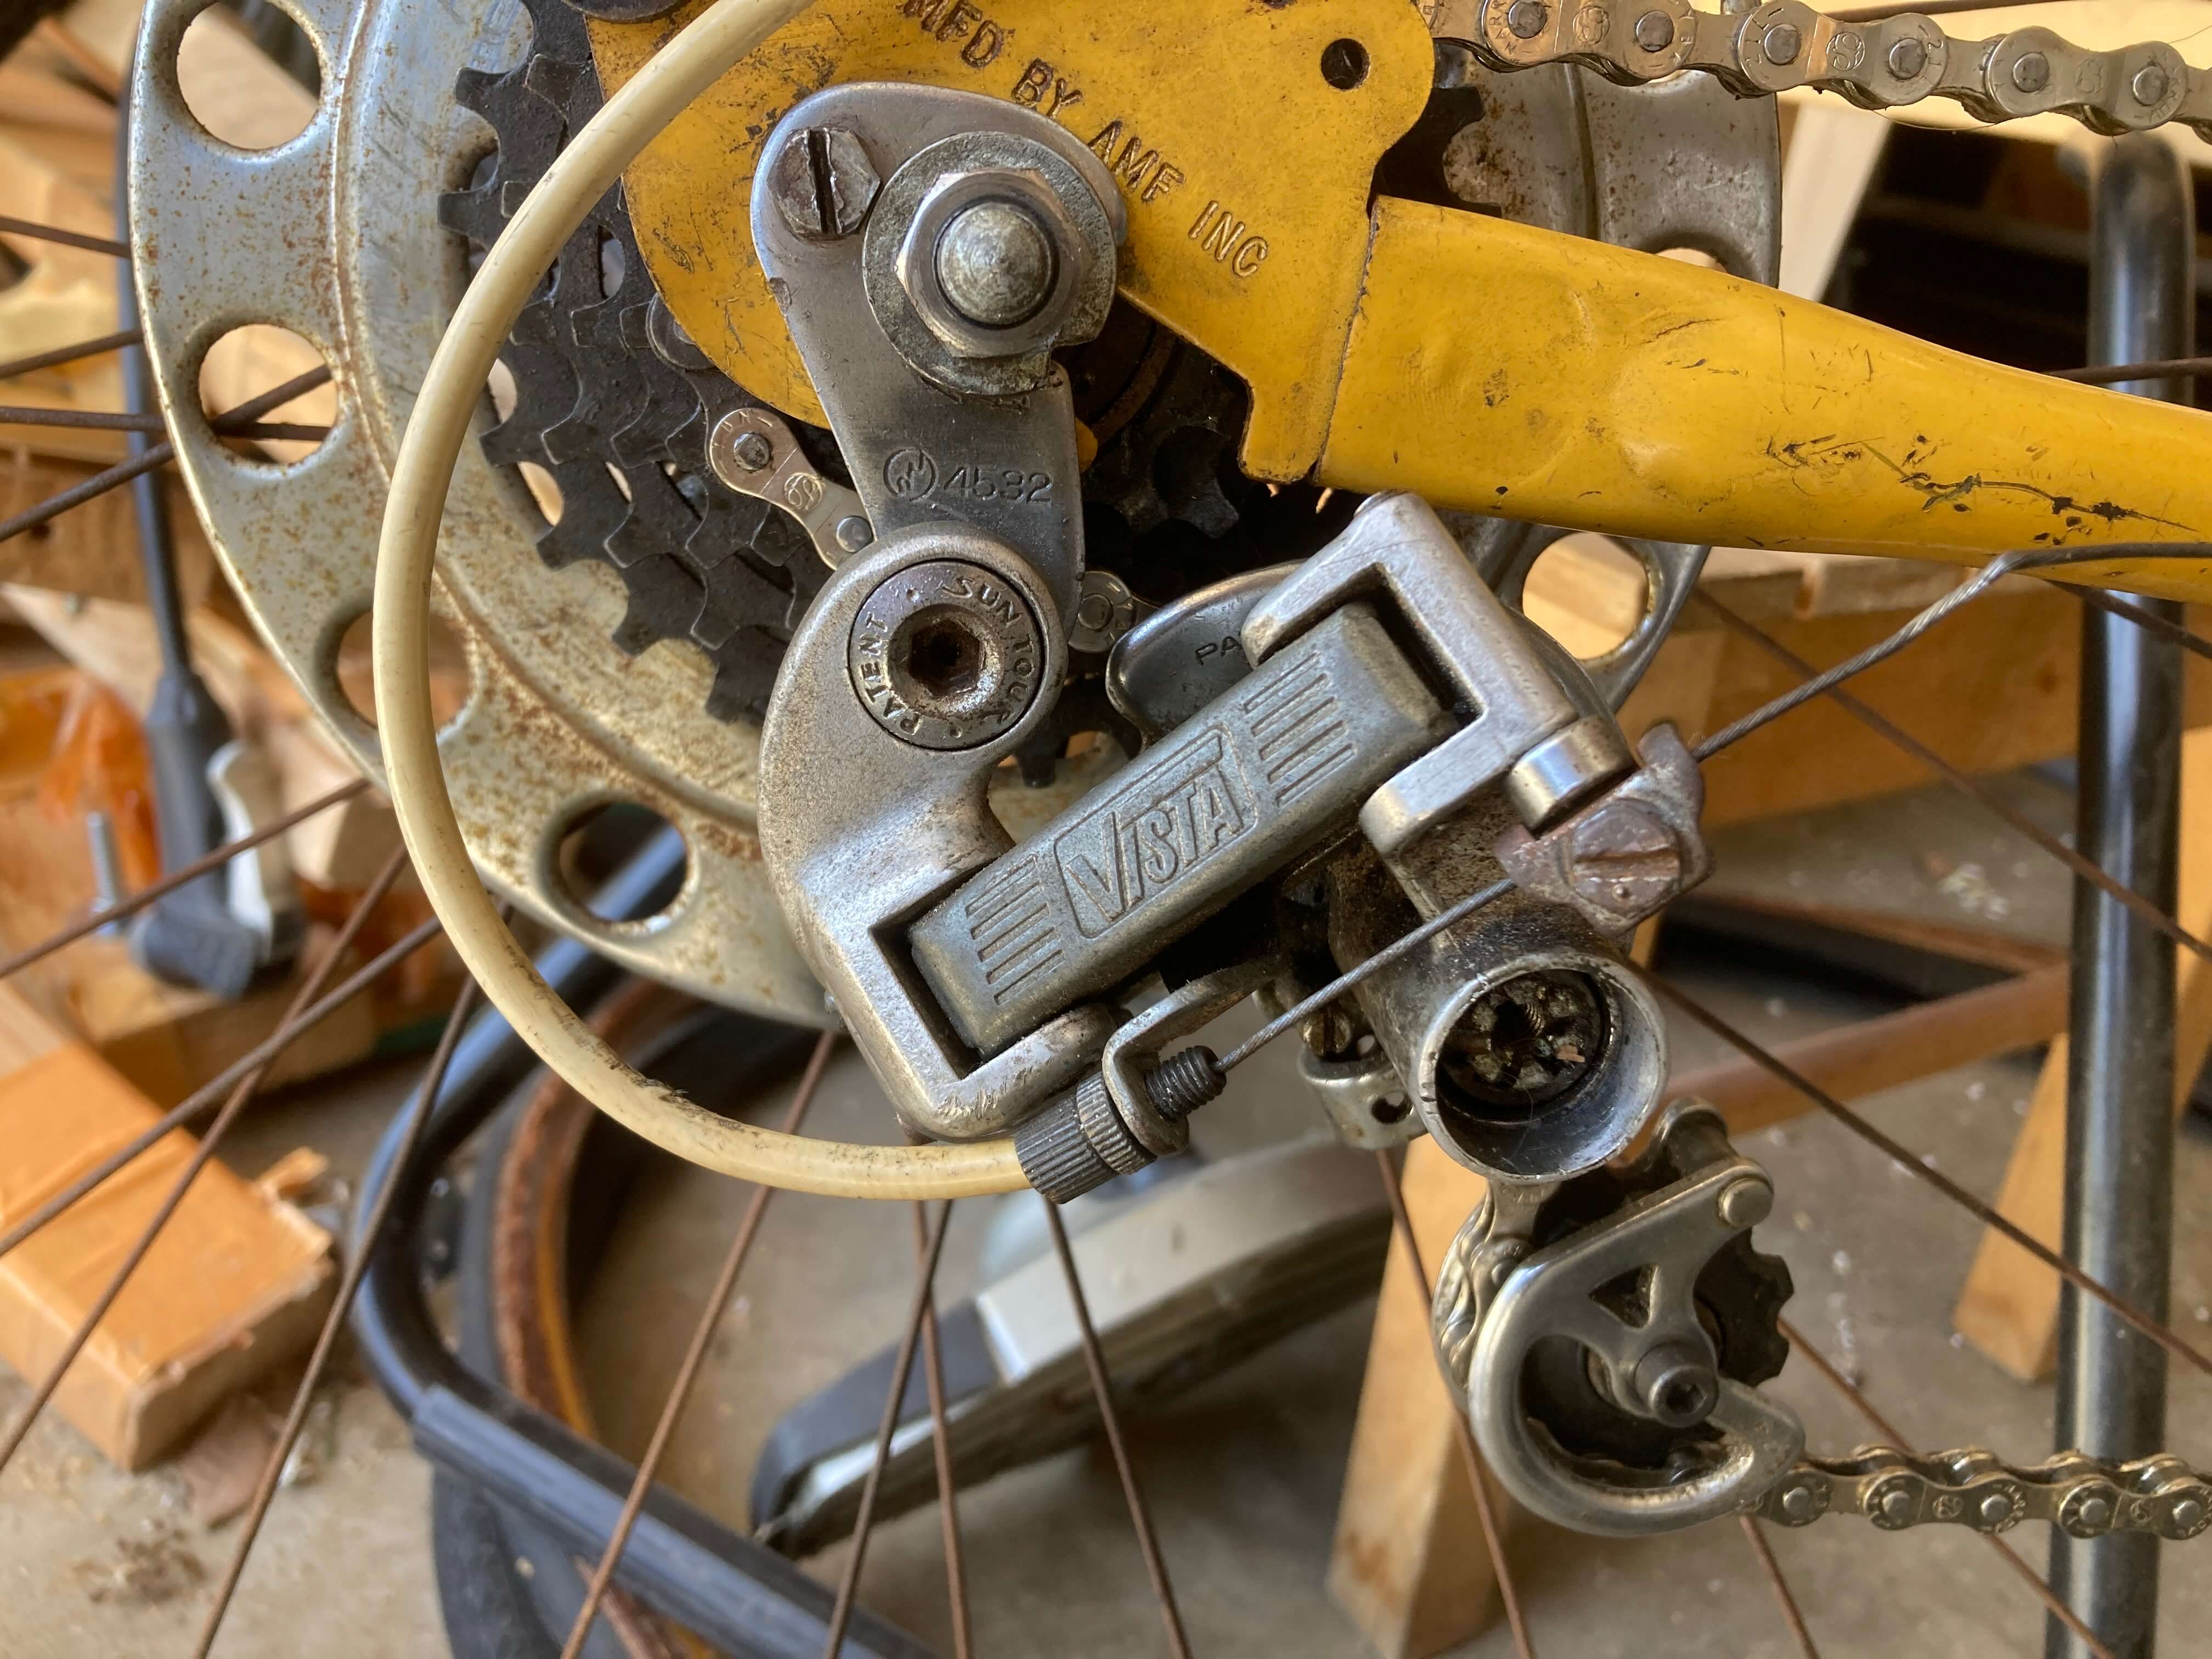
my Free Spirit road bike Lettuce Jr continues to suffer wear and tear issues, but i'm committed to getting and keeping her running smoothly! the eagle derailleur ended up causing problems (if i recall correctly part of it was bent by the damaged chain) and no amount of modification could get it to work properly. so i replaced it with a Vista derailleur that Emily had lying around. the new derailleur looks really cool too! Brakes need adjustment, and I plan to do a lot of general polish and lubrication touch-ups to all the mechanical parts.
Slime Bike
The first new bike since my last bike post! Last summer, Emily sent me a Craigslist listing that led me to a house somewhere deep in the San Fernando valley where a guy was getting rid of his dozens of Lime bikes. Apparently, he’d been a contractor for Lime and had bought a bunch of the bikes to rent out. Now, he said, he wanted to get out of the business and was selling the bikes for 100 dollars each. It’s pretty rare to see these bikes for sale anywhere, and they’re interesting machines, so this was a great find.
These bikes have a locking device mounted on the rear wheel that immobilizes them unless you've paid for your ride in the app. That's not a functionality I'm particularly interested in having on my own bike, so the first thing I did was remove the locking device. The lock has its own sim card that it uses to connect to the app - I wonder what sort of data plan it gets! The locking device is powered by a small solar panel mounted on the bike's front basket. Now that the lock is gone, the power from that solar panel is free to repurpose as, say, a phone charger!
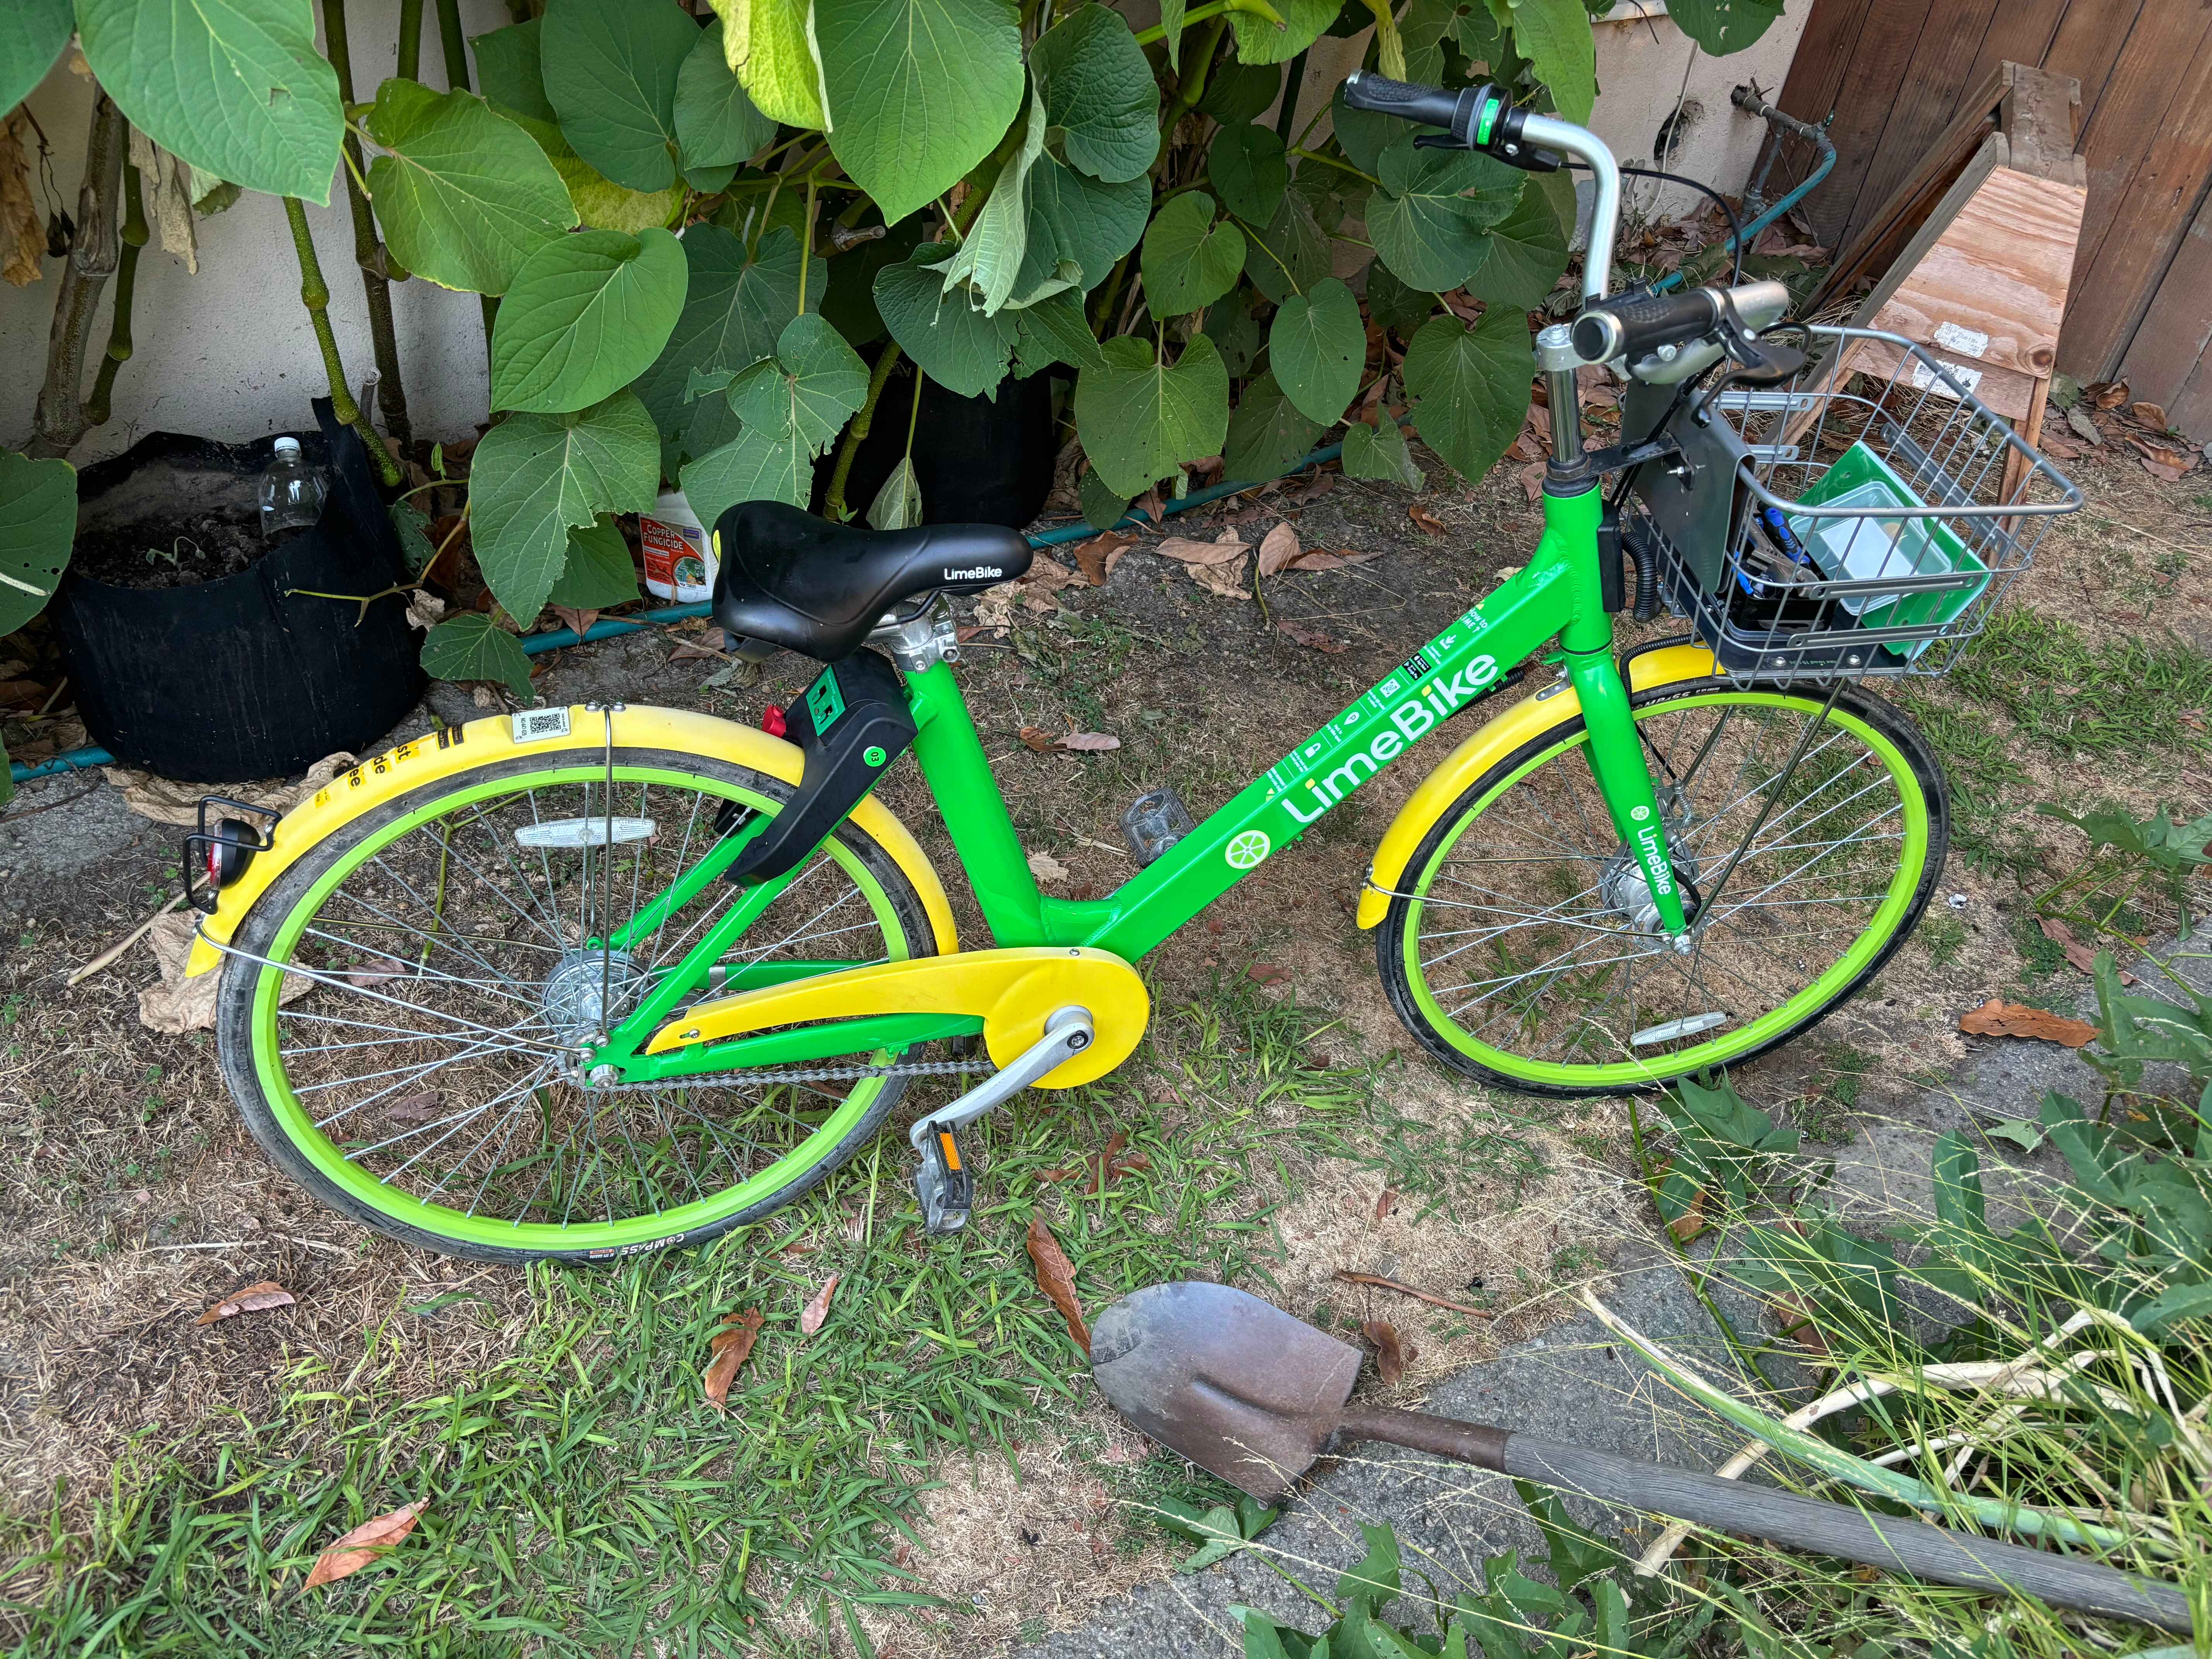
The other problem with this bike was that, as my dad said, "it looks stolen!" Indeed, riding around on a bike that's painted in a rental app's livery, emblazoned with "first ride $1" decals, far away from the app's typical market area, is bound to raise a few eyebrows. So I decided I needed to repaint the bike. And I decided to try a strange, experimental way of "painting" it: coating it in truck bed liner. There are a variety of tintable bed liners available, with which you can make a very tough coating in just about any color. I wondered why I never saw anyone do this, and now I know why. The stuff is absolutely miserable to work with. It's very thick and sticky and difficult to apply to a shape as complex as a bike frame. after all, it's meant for rolling onto mostly flat surfaces, not onto jointed tubing. Also, because of the summer heat, I waited to start doing the coating until the sun was already starting to set. Once you've mixed the liner, it starts curing and you only have a few hours before it gets too hard to work with. This meant I did most of the work by lamp light, not good for seeing the gaps I was leaving.
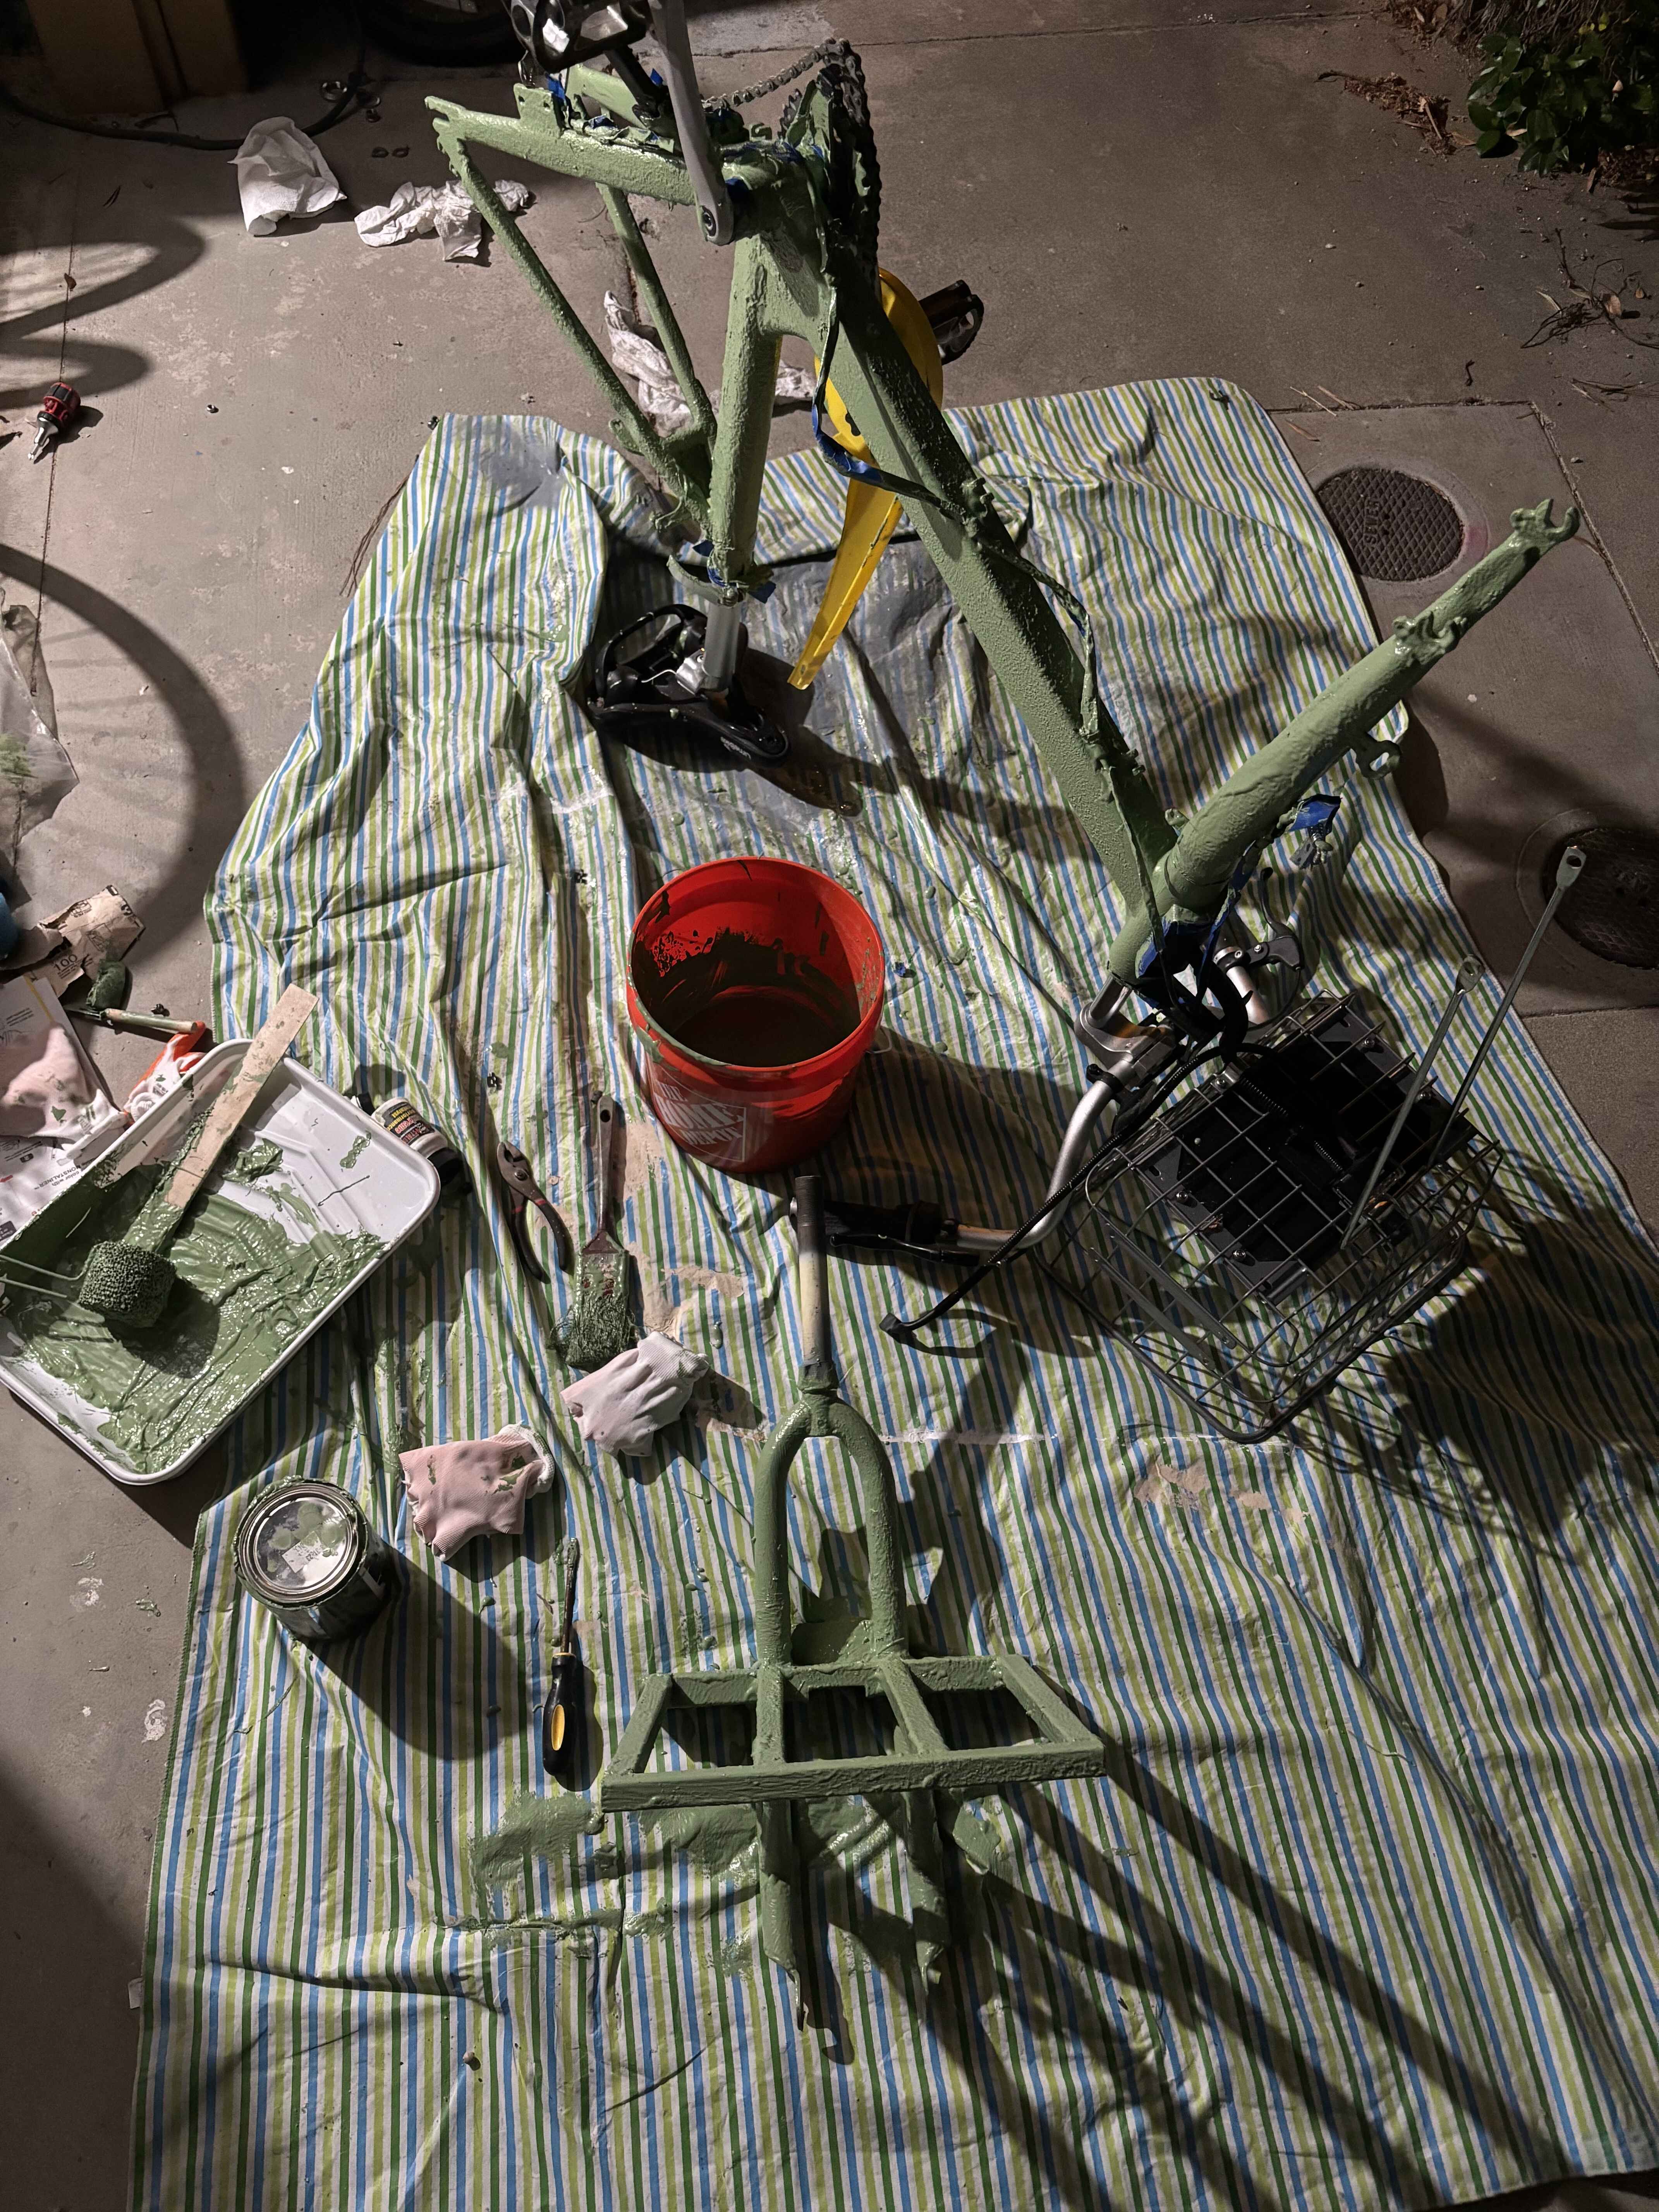
In the light of the following day, I was so disappointed in my handiwork that i put the project aside for several months. There were big blobs of liner, sharp points and peaks, inconsistent textures from area to area, and gaps where the bright green paint of Lime's livery shone through. But I want to come back to this project soon. I've done a bit of sanding to get rid of the worst blobs. Next I need to match some paint to the color of the bed liner and touch up the gaps. Then finally I'll feel that the bike is presentable to ride in public.
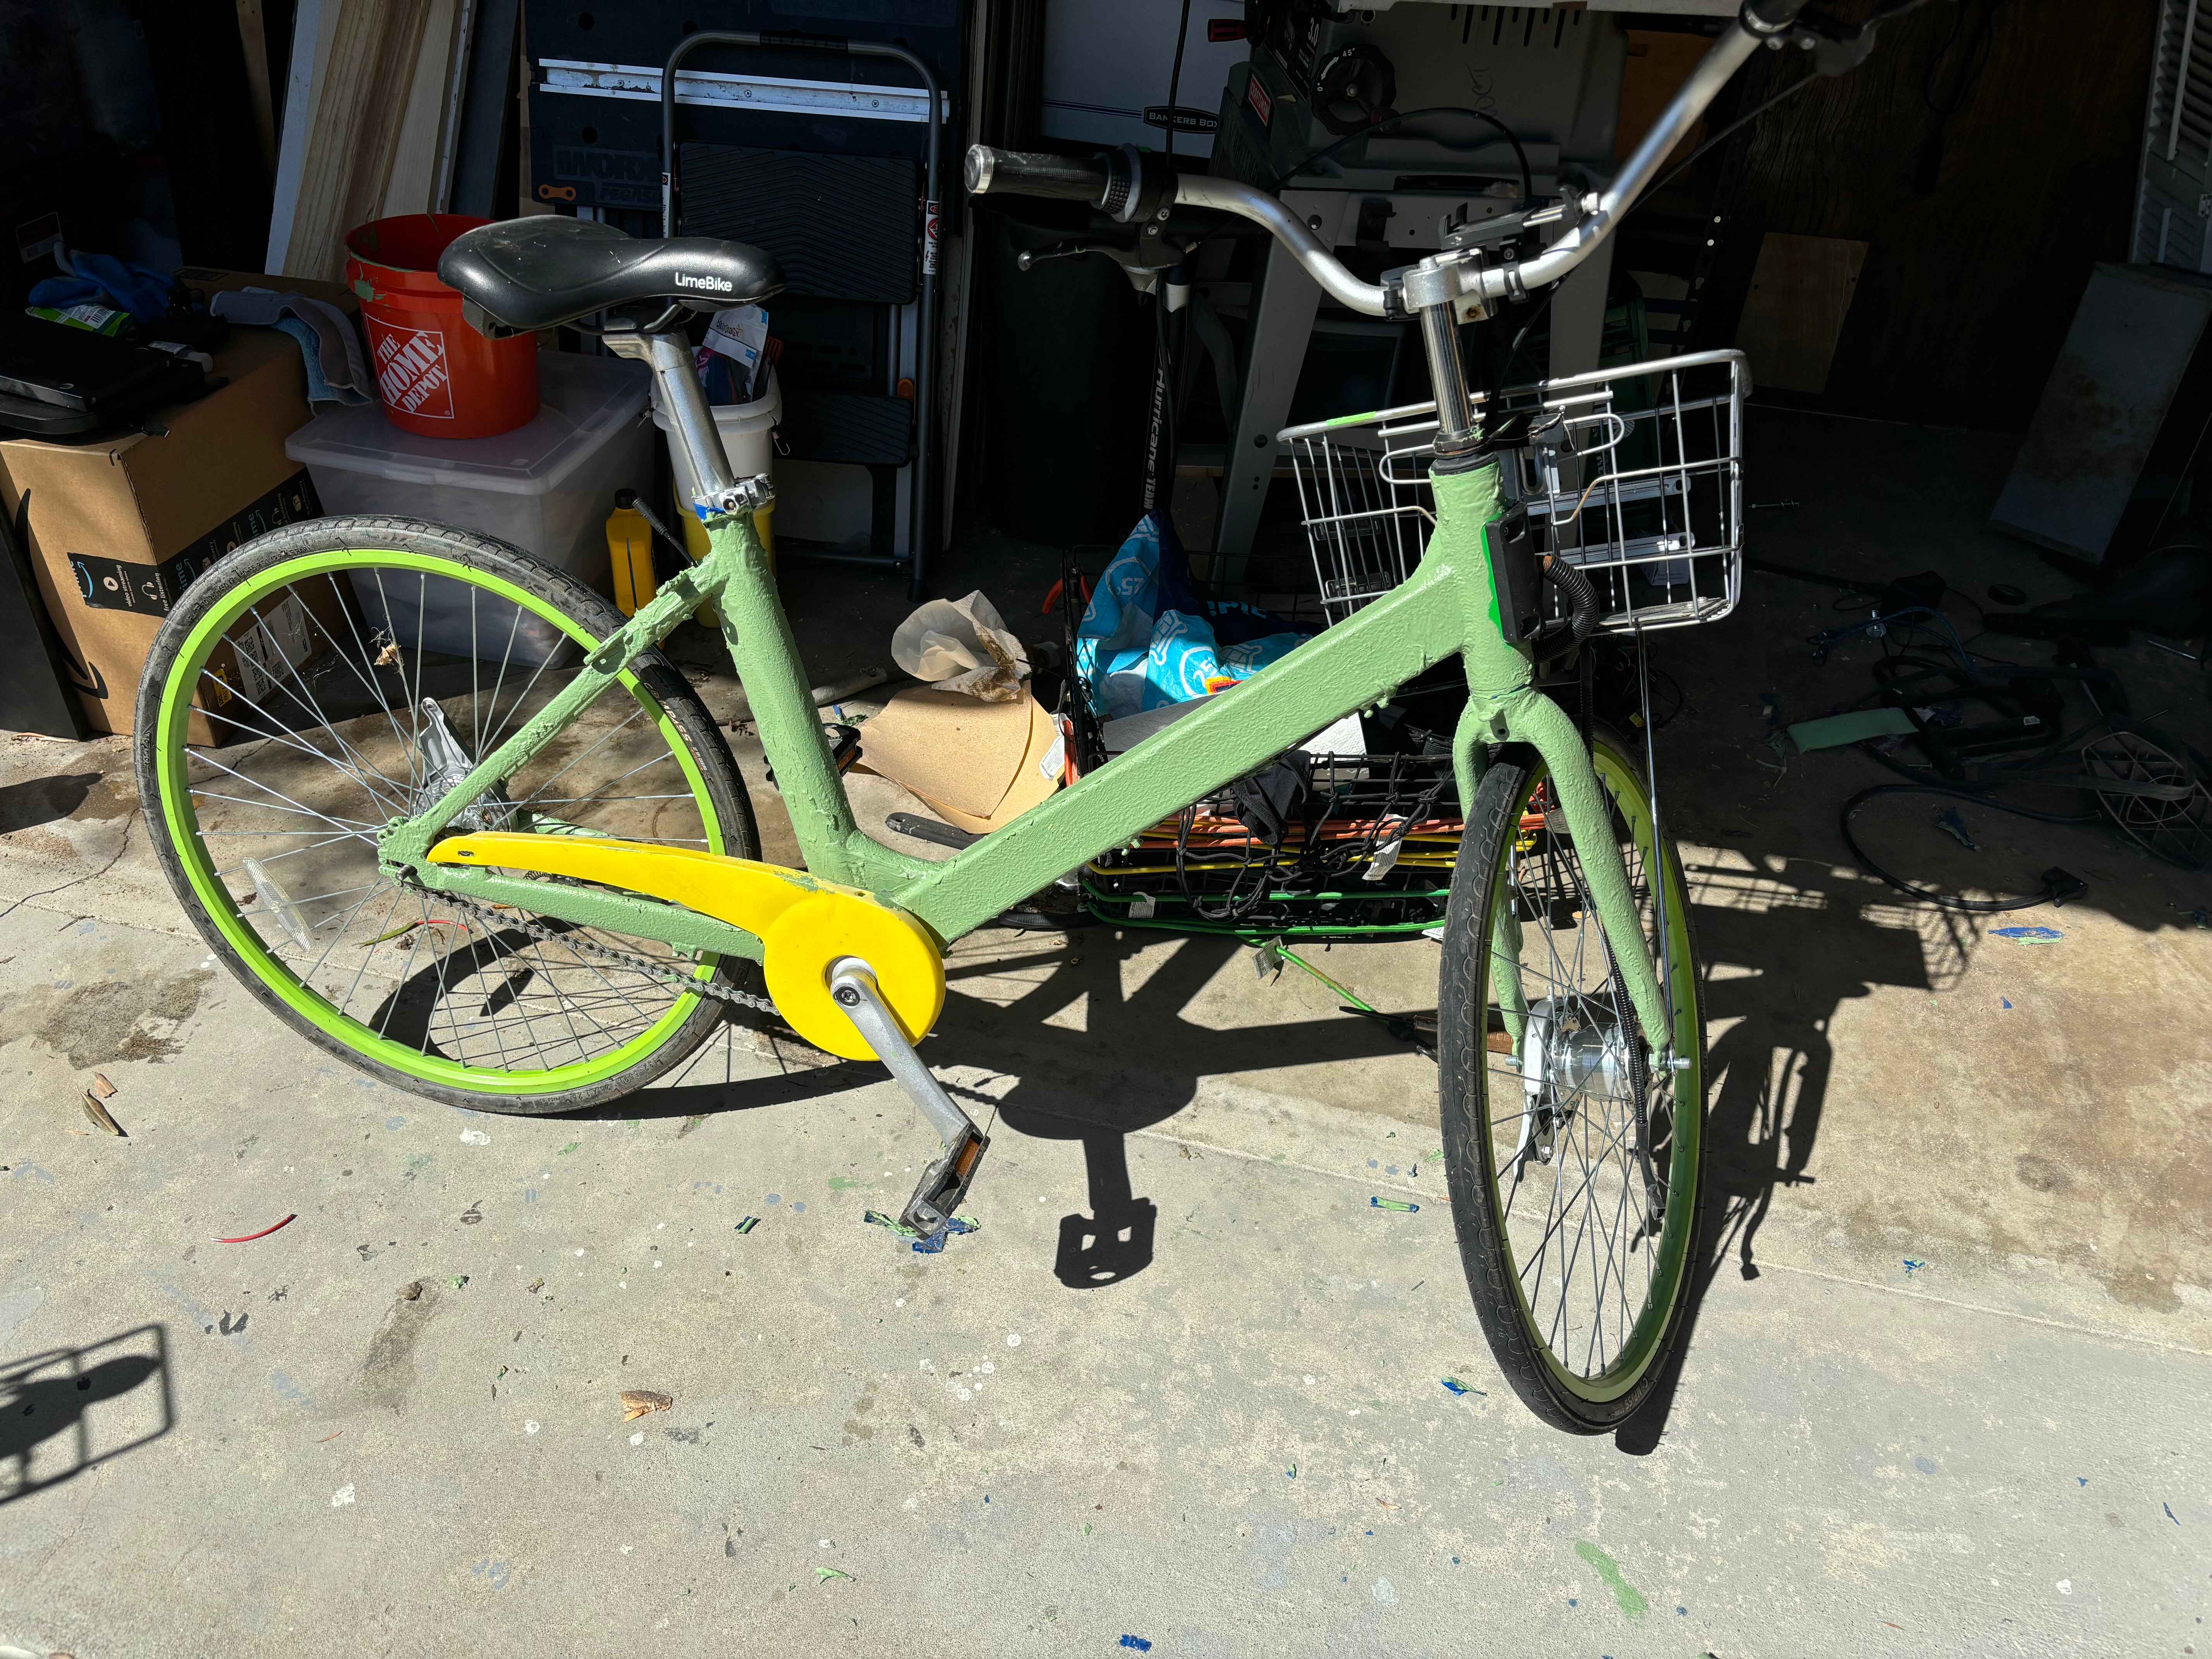
But to get the bike to be rideable, I need to replace a lot of fasteners. Rental bikes are designed to sit in public spaces around the clock, so they have to be difficult to remove valuable parts from. Their drive chains are specially made to be difficult to remove. Cables are routed through the inside of the frame tubes. Everything is held on with tamper resistant torx screws. The wheels - which have solid rubber airless tires - are held on with three-pronged yin-and-yang looking bolts that i've never seen before. I had to file flat spots into the sides of these bolts in order to be able to loosen them with a wrench. I need to find standard fasteners to put it back together.
Once these challenges are past, though, I look forward to what this bike will be - a durable, simple, single-speed bike that I can keep outside and never have to worry about flat tires! I think it'll be perfect for running short errands, lending to friends, or just charging my phone!
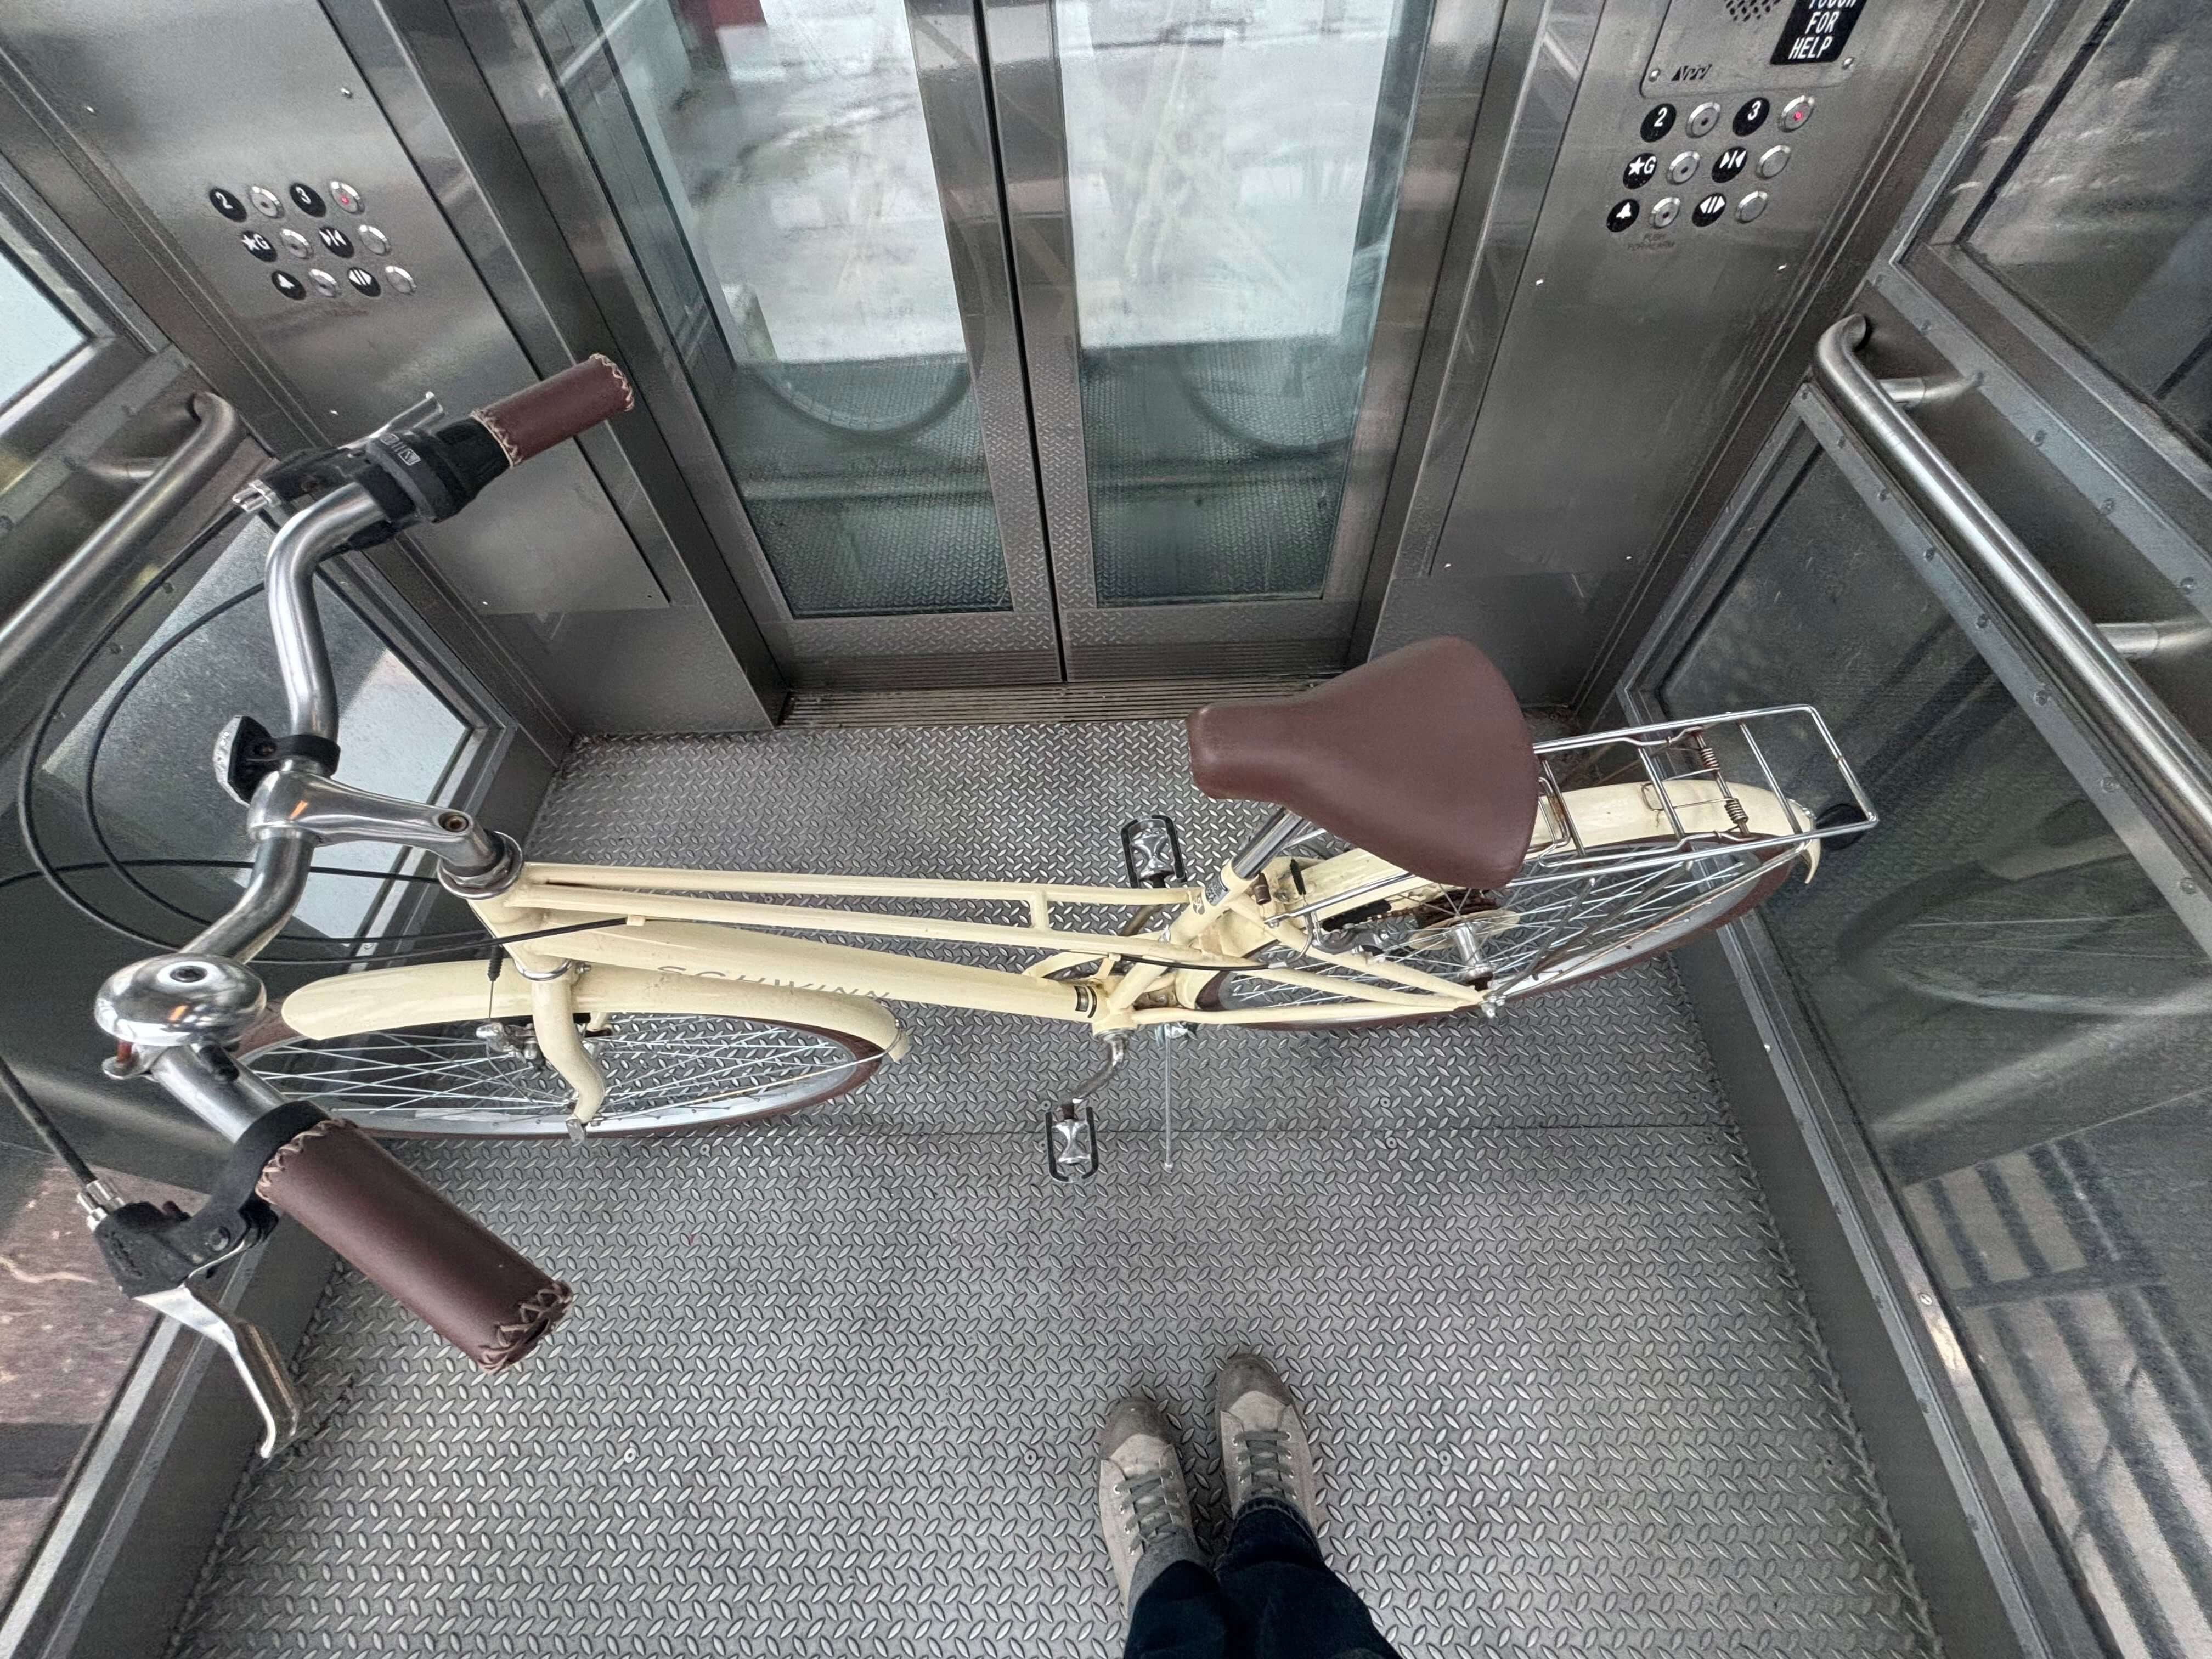
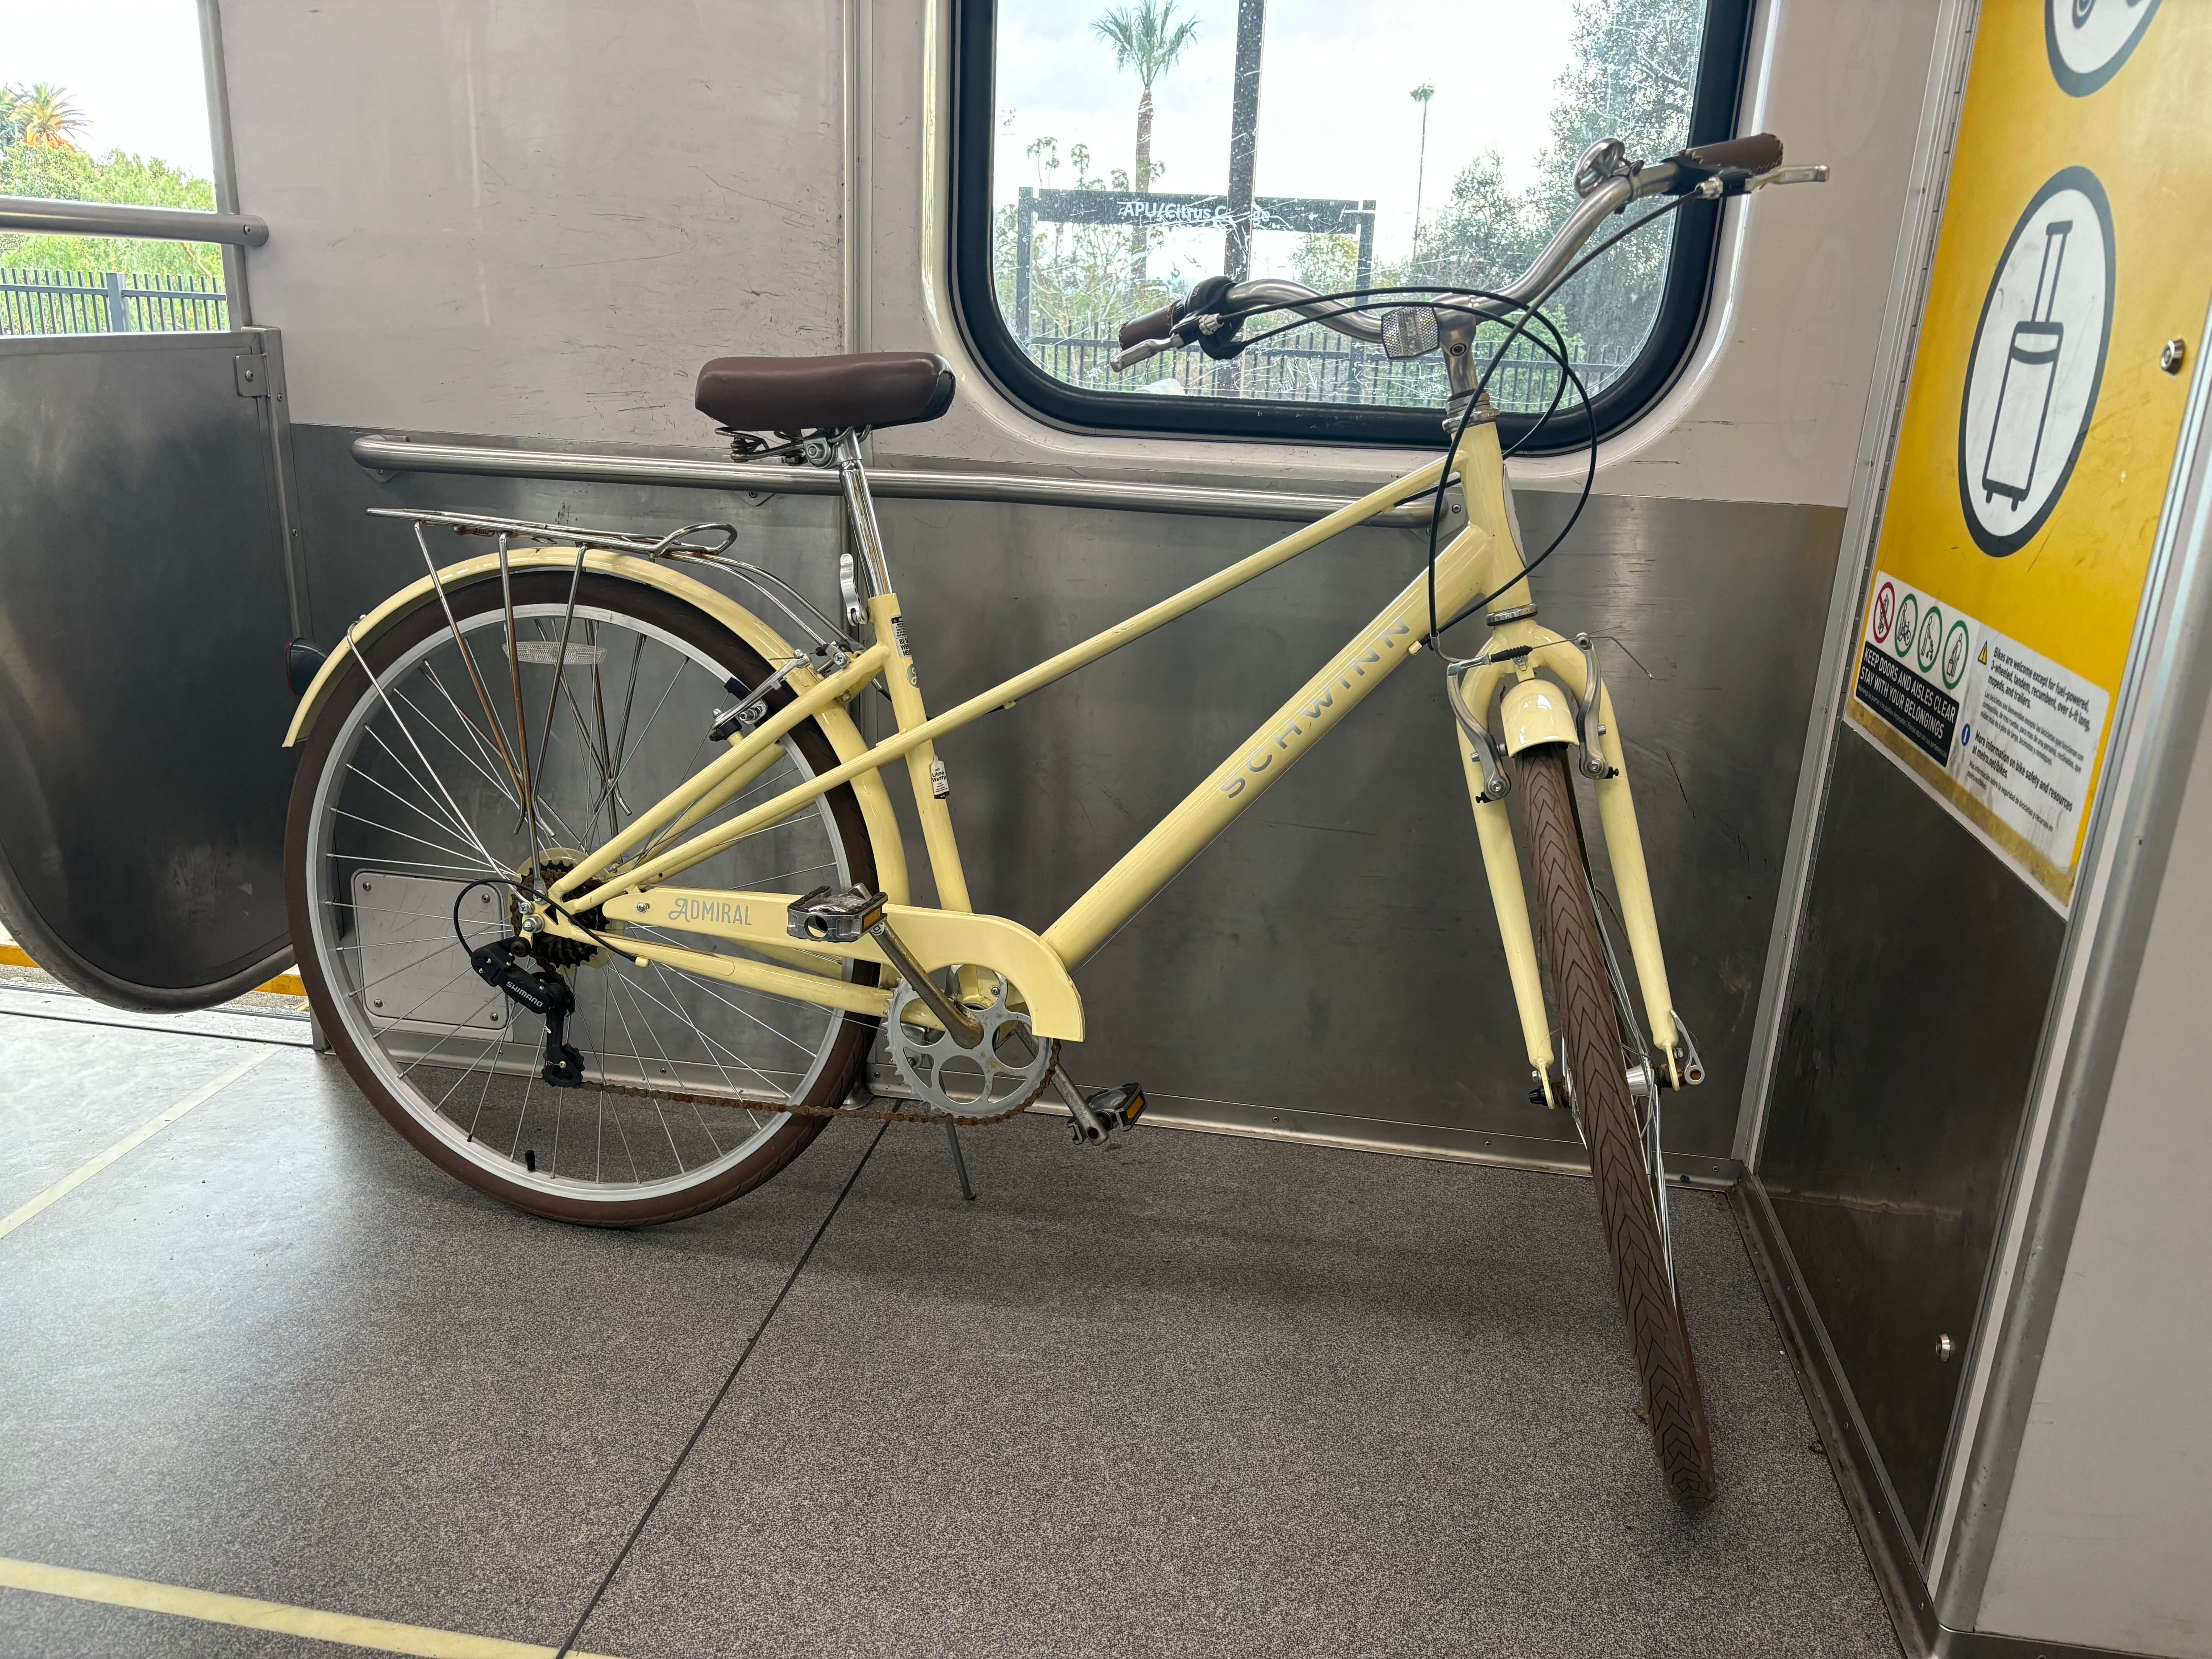
The Admiral
I haven’t really named this one yet; maybe it prefers to just be called by the title. It’s a Schwinn Admiral that I got on Craigslist for $40. It is, for now, stock and unmodified. I need to replace one tire tube, and then it'll be rideable. It has seven speeds, v-brakes, and a rear rack to put a basket on. What I got it for, though, is its frame: a mixte design, with double top tubes extending all the way from the head tube to the rear dropout. This provides both rigidity and step-through comfort. They were invented to be a genderless frame design, which I am, of course, a big fan of.
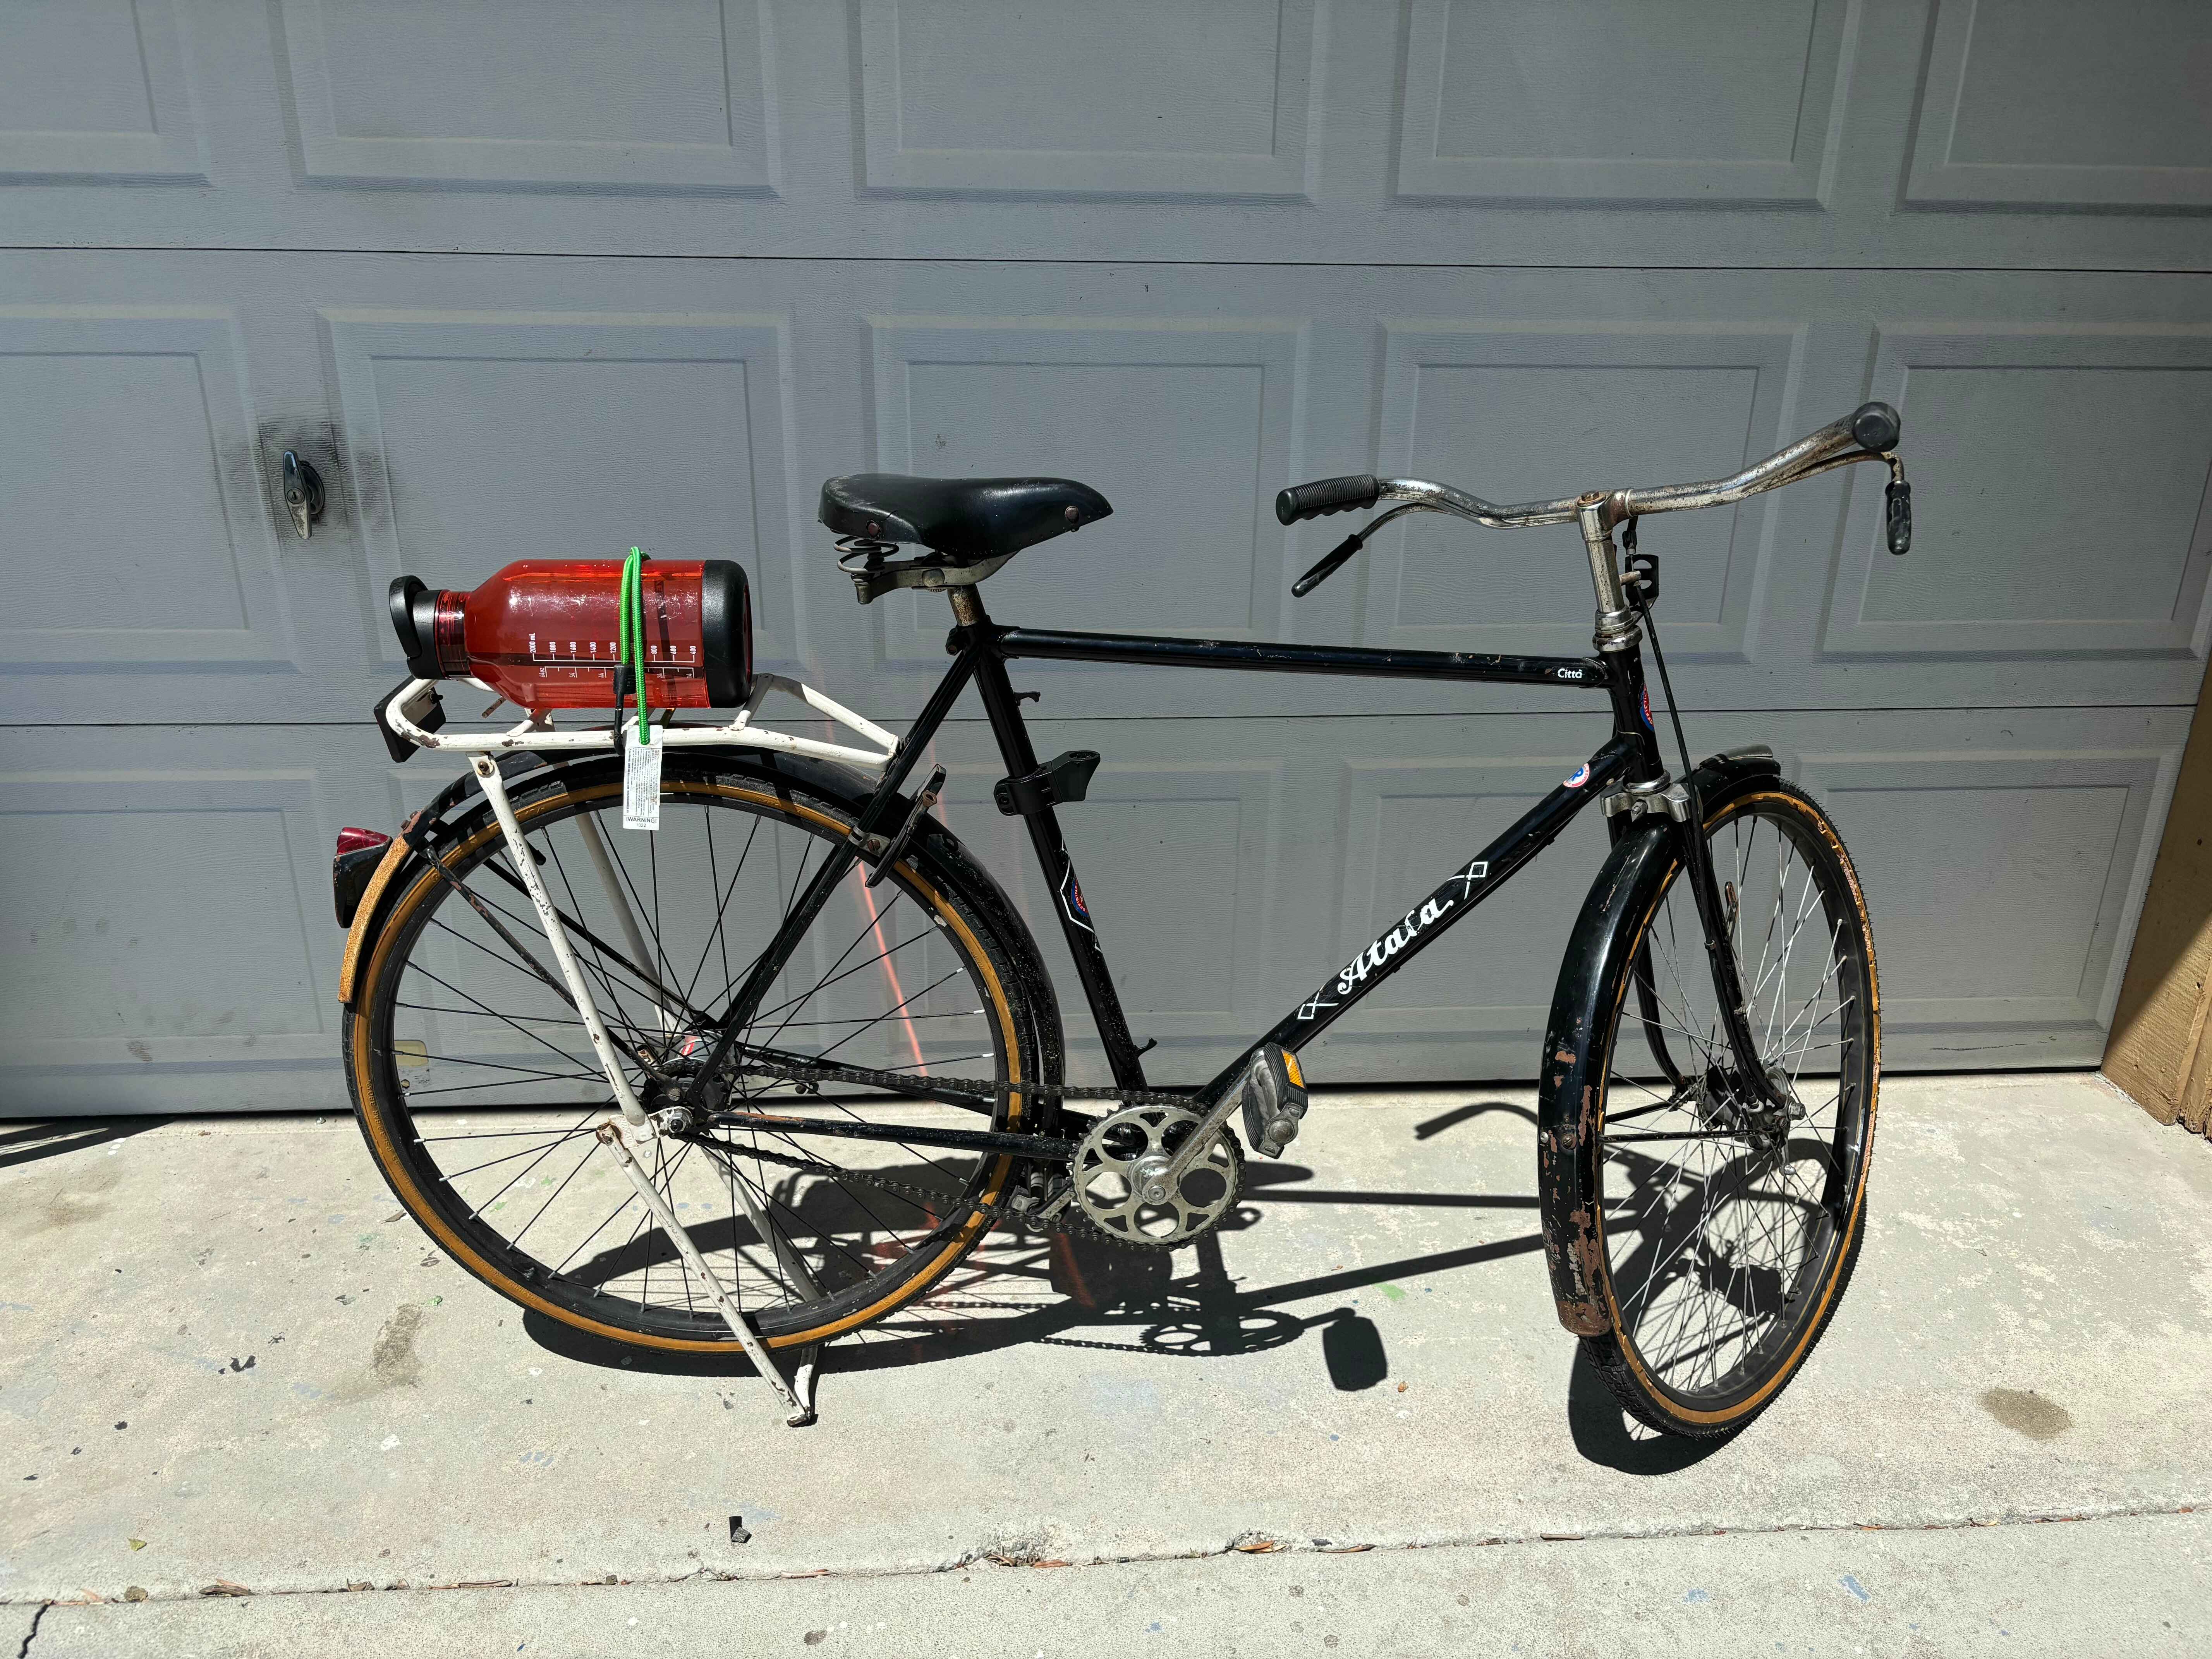
Paolo the Postbike
This is the bike that my friends get really excited about! And for good reason, he’s awesome! Judging by his serial number, I think he was built in 1986, but his design is clearly much older - he looks positively ancient, in a very classy way. I’ve seen nearly identical bikes made in the 1950’s online, and forum posters say his manufacturer, Atala, is still making very similar looking bikes. Like all my bikes, this one was a Craigslist find. The seller said he was an Italian post office bike, hence the title, and although he doesn’t have any post office specific markings, he certainly has the simple, solid design you’d expect to see for local letter-carrying service.
He was originally single-speed, with both wheels having hub drum brakes operated by the cool levers on the handlebars (one of my favorite features! They feel great). The Craigslist seller told me that he had replaced the rear wheel’s hub with an SRAM Automatix 2-speed hub, which is really cool and works quite well. At 10 miles per hour, centrifugal force pulls two sprung weights away from its axle, which actuates a shift to a faster gear. Read Sheldon Brown’s article for more info about these. It has a built in coaster brake, leaving the original left brake lever a dummy, not connected to anything. I think I’ll attach a switch to it and have it be an on/off control for a headlight!
When I got this bike, he only had one problem: something was going clunk-clunk-clunk as I rode. At first I thought it might be that sophisticated gearbox hub, but after a few laps around the block I determined that it was, in fact, the crank axle. Every time my weight shifted from one pedal to the other, the axle rocked slightly back or forth. Something was wrong with the bottom bracket!
Paolo's bottom bracket uses an old school "cup and cone" style bearing. These should be easy to take apart and service: one side is adjustable with a hex head and a lock nut, and the other is supposed to just stay at a fixed depth. I didn't know that at first, so I started tapping away with a flat head screwdriver and hammer at the fixed side. It came out with little trouble. Then I removed the lock nut from the "adjustable" side by the same method. But the bearing cup of the "adjustable" side, the one that's supposed to be easy to loosen with just a socket wrench, would not budge at all. I soaked it in penetrating oil for multiple days, I blasted it with a propane torch, but nothing I could do would move it. I ended up having to take it to my local bike shop, who told me they had to use a socket with roughly five feet of leverage to finally remove it.

I was having trouble putting the bearing back together, so I brought the bike to Emily's workshop to see what was wrong with it. The bearing cup would thread part way in, and then get stuck. The bottom bracket, she noticed, had signs of double threading. This gives us some insight into this bike's troubled repair history.
Probably, at some point, a previous owner tried to replace the original fixed bearing cup with one that had a 24 thread-per-inch pitch. The bracket itself is threaded at a 1 thread-per-millimeter pitch, so while the two parts looked very similar, the threads didn’t quite match up. An understandable mistake, as I’m told Italian bikes often use a confusing mix of metric and imperial threads. This previous owner, in frustration, must have over-tightened the cup until it cut new threads into the bracket. It would thread into those new threads just fine and stay put securely, but it could not turn any further into the bracket.
The solution was convoluted. First, Emily tried to turn the bearing cup on a metal lathe, to cut off the first few millimeters of threads with a carbide tool. The part was much too hard for the tool. So then she turned it at a slower speed and lightly used an angle grinder to cut off the threads. This did the trick, removing enough threads that we could thread the cup in securely. Finally, we could put the bearing back together without the axle wobbling.
Currently, Paolo is operating without his chain guard. I don’t know the provenance of this chain guard - it was held on by the bearing cup, which we know is not original. It's also painted a different color from the frame. Original or not, its width sandwiched in the bracket assembly causes the axle to wobble. The bracket doesn’t wobble when the chain guard is removed. So, until I come up with an alternate way to mount the chain guard (or maybe replace the bottom bracket with a properly threaded one), I’ll keep going without it.