Cantern: a DIY, low-cost bike headlight!
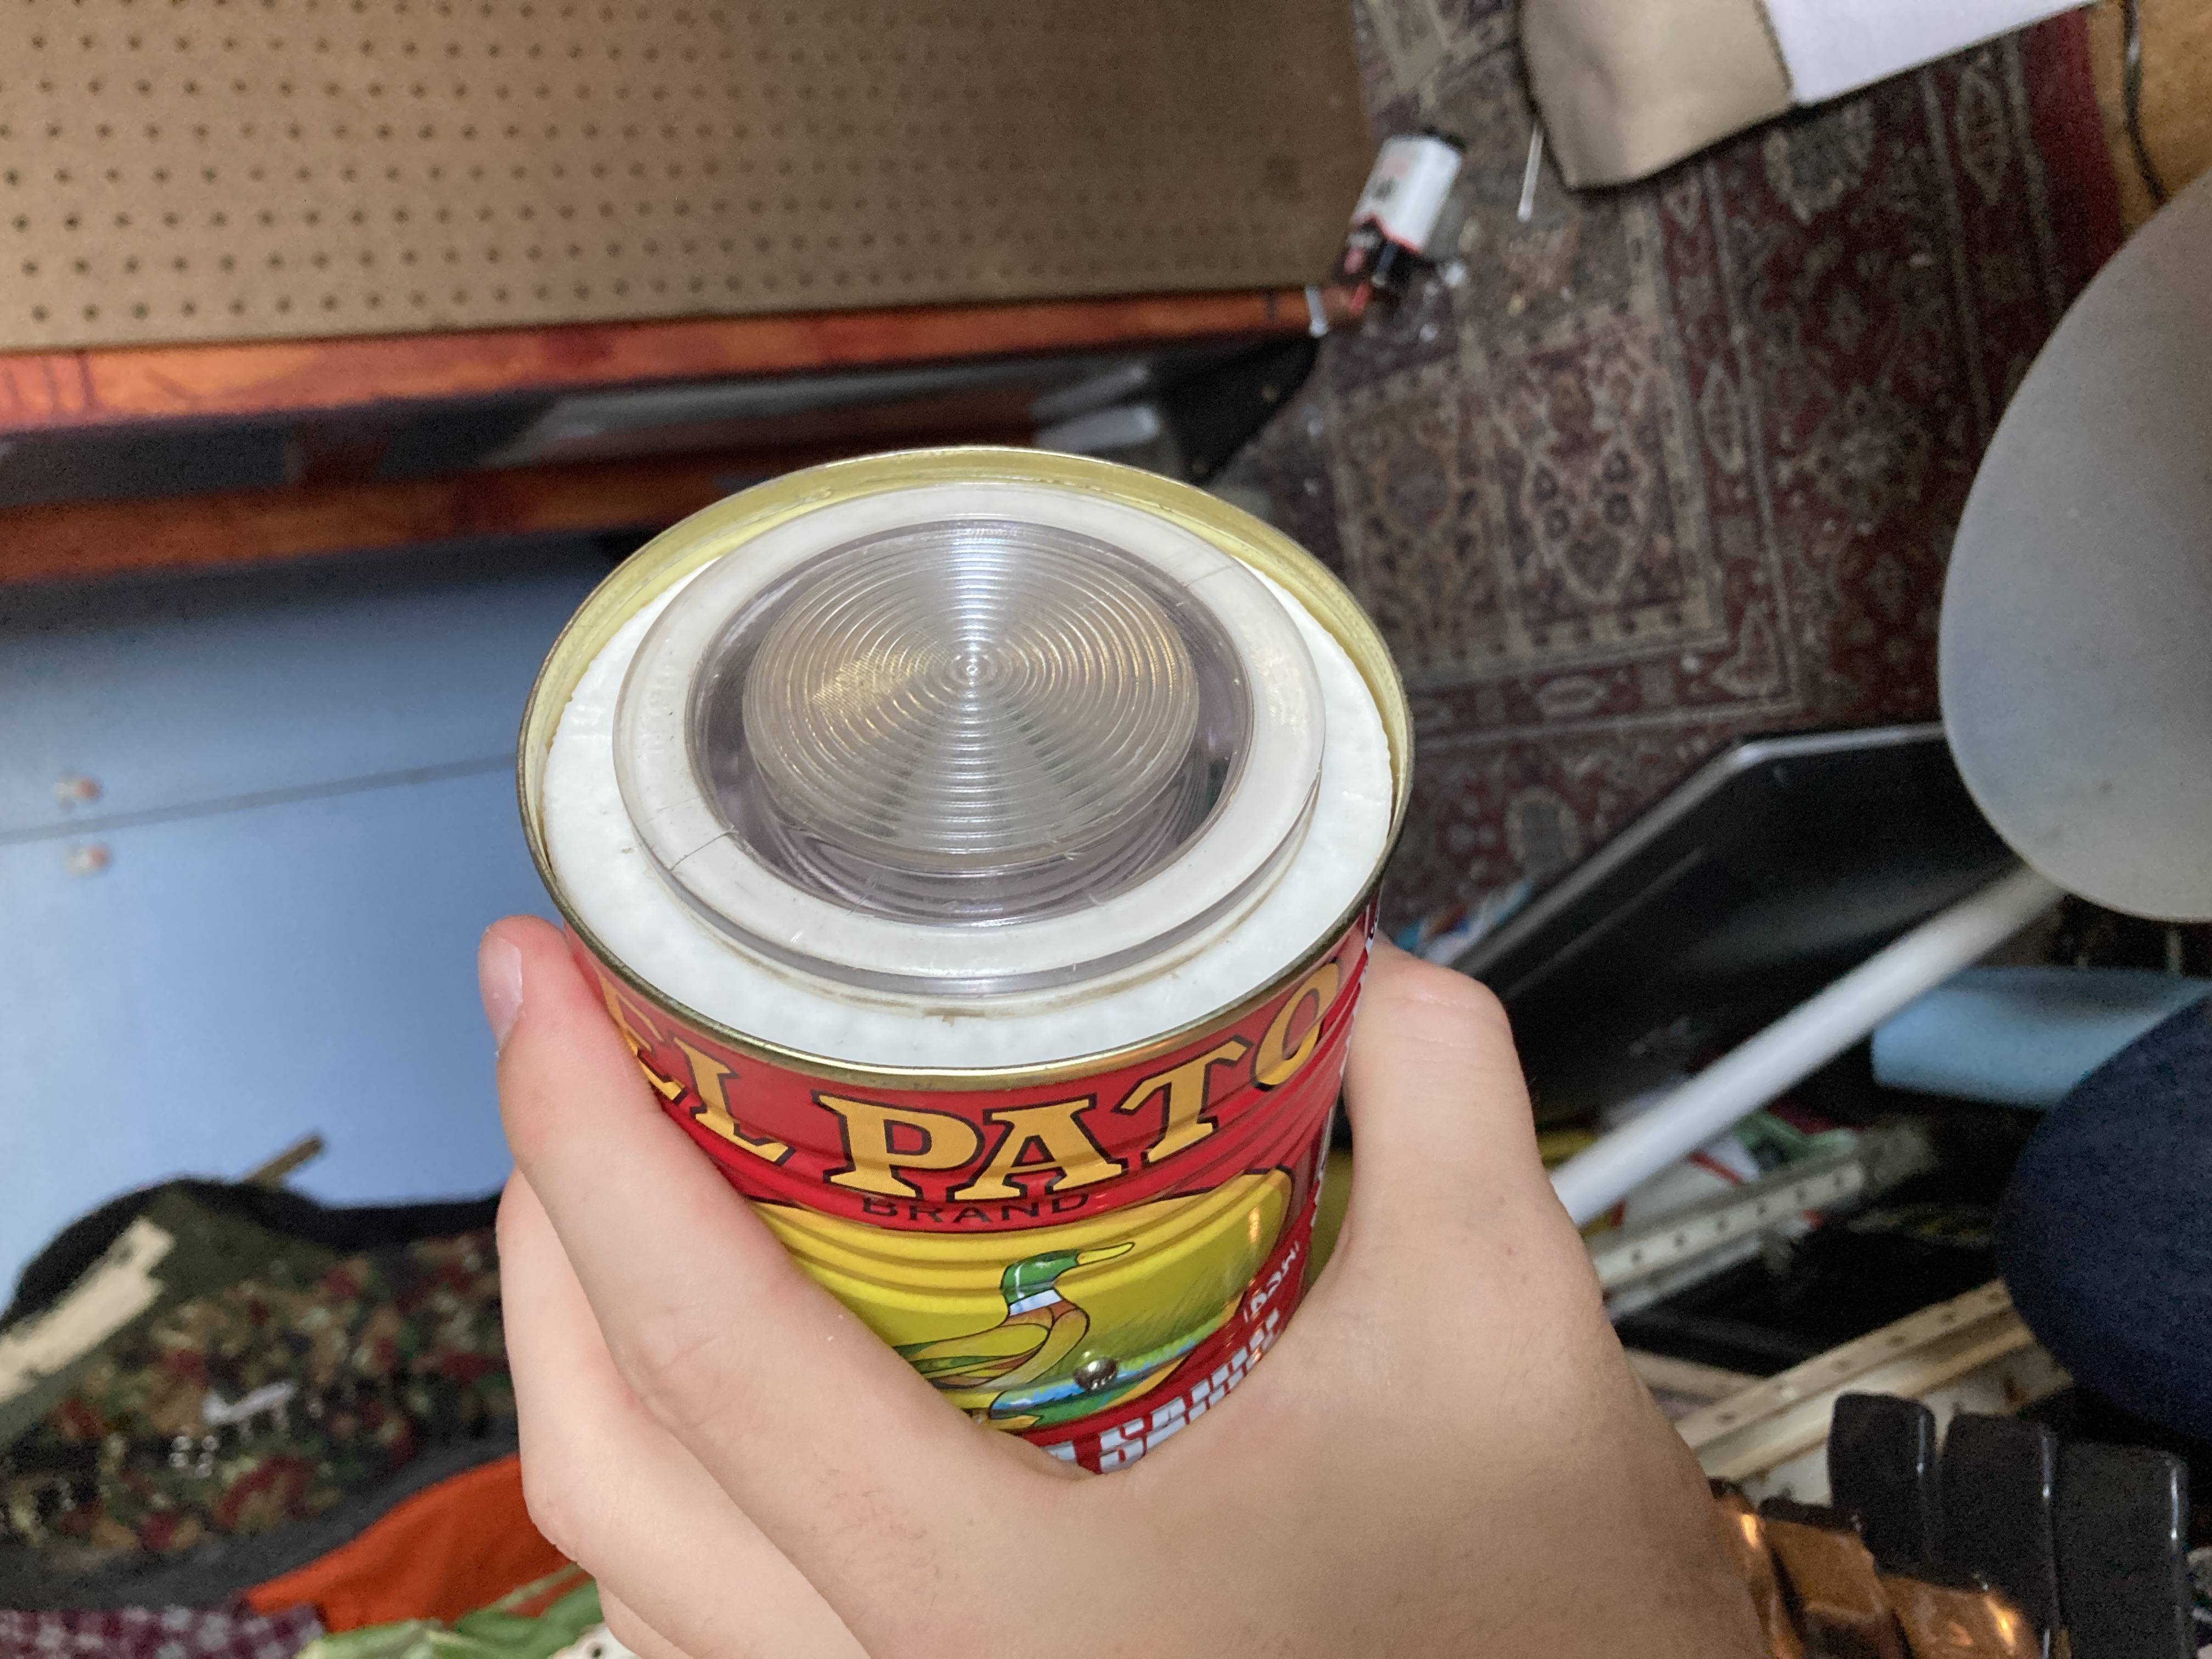
A few months ago, I got a bike named Vincent Von Velocipede on Craigslist, and have had a lot of fun adding various accessories to it, to enhance its suburban grocery-getting powers. First up was mounting a milk crate above the rear axle. My friend Emily Velasco and I were brainstorming about what to do next, and I brought up the idea for a headlight housed in a soup can. Emily found the electronics for the job, I found an enchilada sauce can and an old aircraft fresnel lens from Apex in Burbank, and we got to work!
Materials
Here is the parts list, with the links to the listings I bought from:
| Part name | Cost |
|---|---|
| El Pato can | ~$2 | Aircraft lens (used) | $30 |
| 1 watt LEDs (25-pack) | $10.39 total, 0.42 each |
| Current driver | $5.42 | Ni-Cad Battery pack with mini USB charger | $13.99 |
| Barrel jacks and plugs (5 pack) | $9.99, $2 each |
| Wiring, printer filament and scrap metal | Negligible |
| Toggle switch | ~$2 from hardware store |
| Total incl. bulk order quantities | $73.81 |
| Total, final | $41.84 |
OK, that's a bit more expensive than an off the shelf headlight. The lens is by far the biggest cost, and we're exploring cheaper lens alternatives such as sheet magnifiers or parabolic mirrors for subsequent versions of Cantern. The cantern functioned satisfactorily without the lens, and that configuration cost 11.84. Sheet magnifiers, at time of writing, cost anywhere from 2 to 10 dollars, putting a cheaper Cantern at a similar price point to bike headlights sold at big box stores.
Process
The first and most important step in the build was to make enchiladas using the sauce from the can. They were tasty. I then washed and dried the can, and drilled holes in the back for the switch and charging port.
Next I brought all the electronics over to Emily's workshop for soldering and initial assembly. I had very little soldering experience, so I watched her use proper soldering technique for pretty much all of the joints. She also set the driver to a constant 1.5W, 6V, ~250 mA output, which I didn't know how to do either at the time. The LEDs had two different configurations, one of which powered it directly and one used a resistor to regulate the input current. Since we had the driver, we used the more efficient direct configuration.
The LED mounts to a piece of scrap aluminum channel that acted as a heat sink, which is attached to the wall of the can using screws. The battery and driver mount to the walls using double sided tape. Having learned from Emily's soldering, I replaced the mini USB connector on the charger with a barrel connector, to make the cantern easier to charge. It was now functional, and all that was left was mounting the lens.
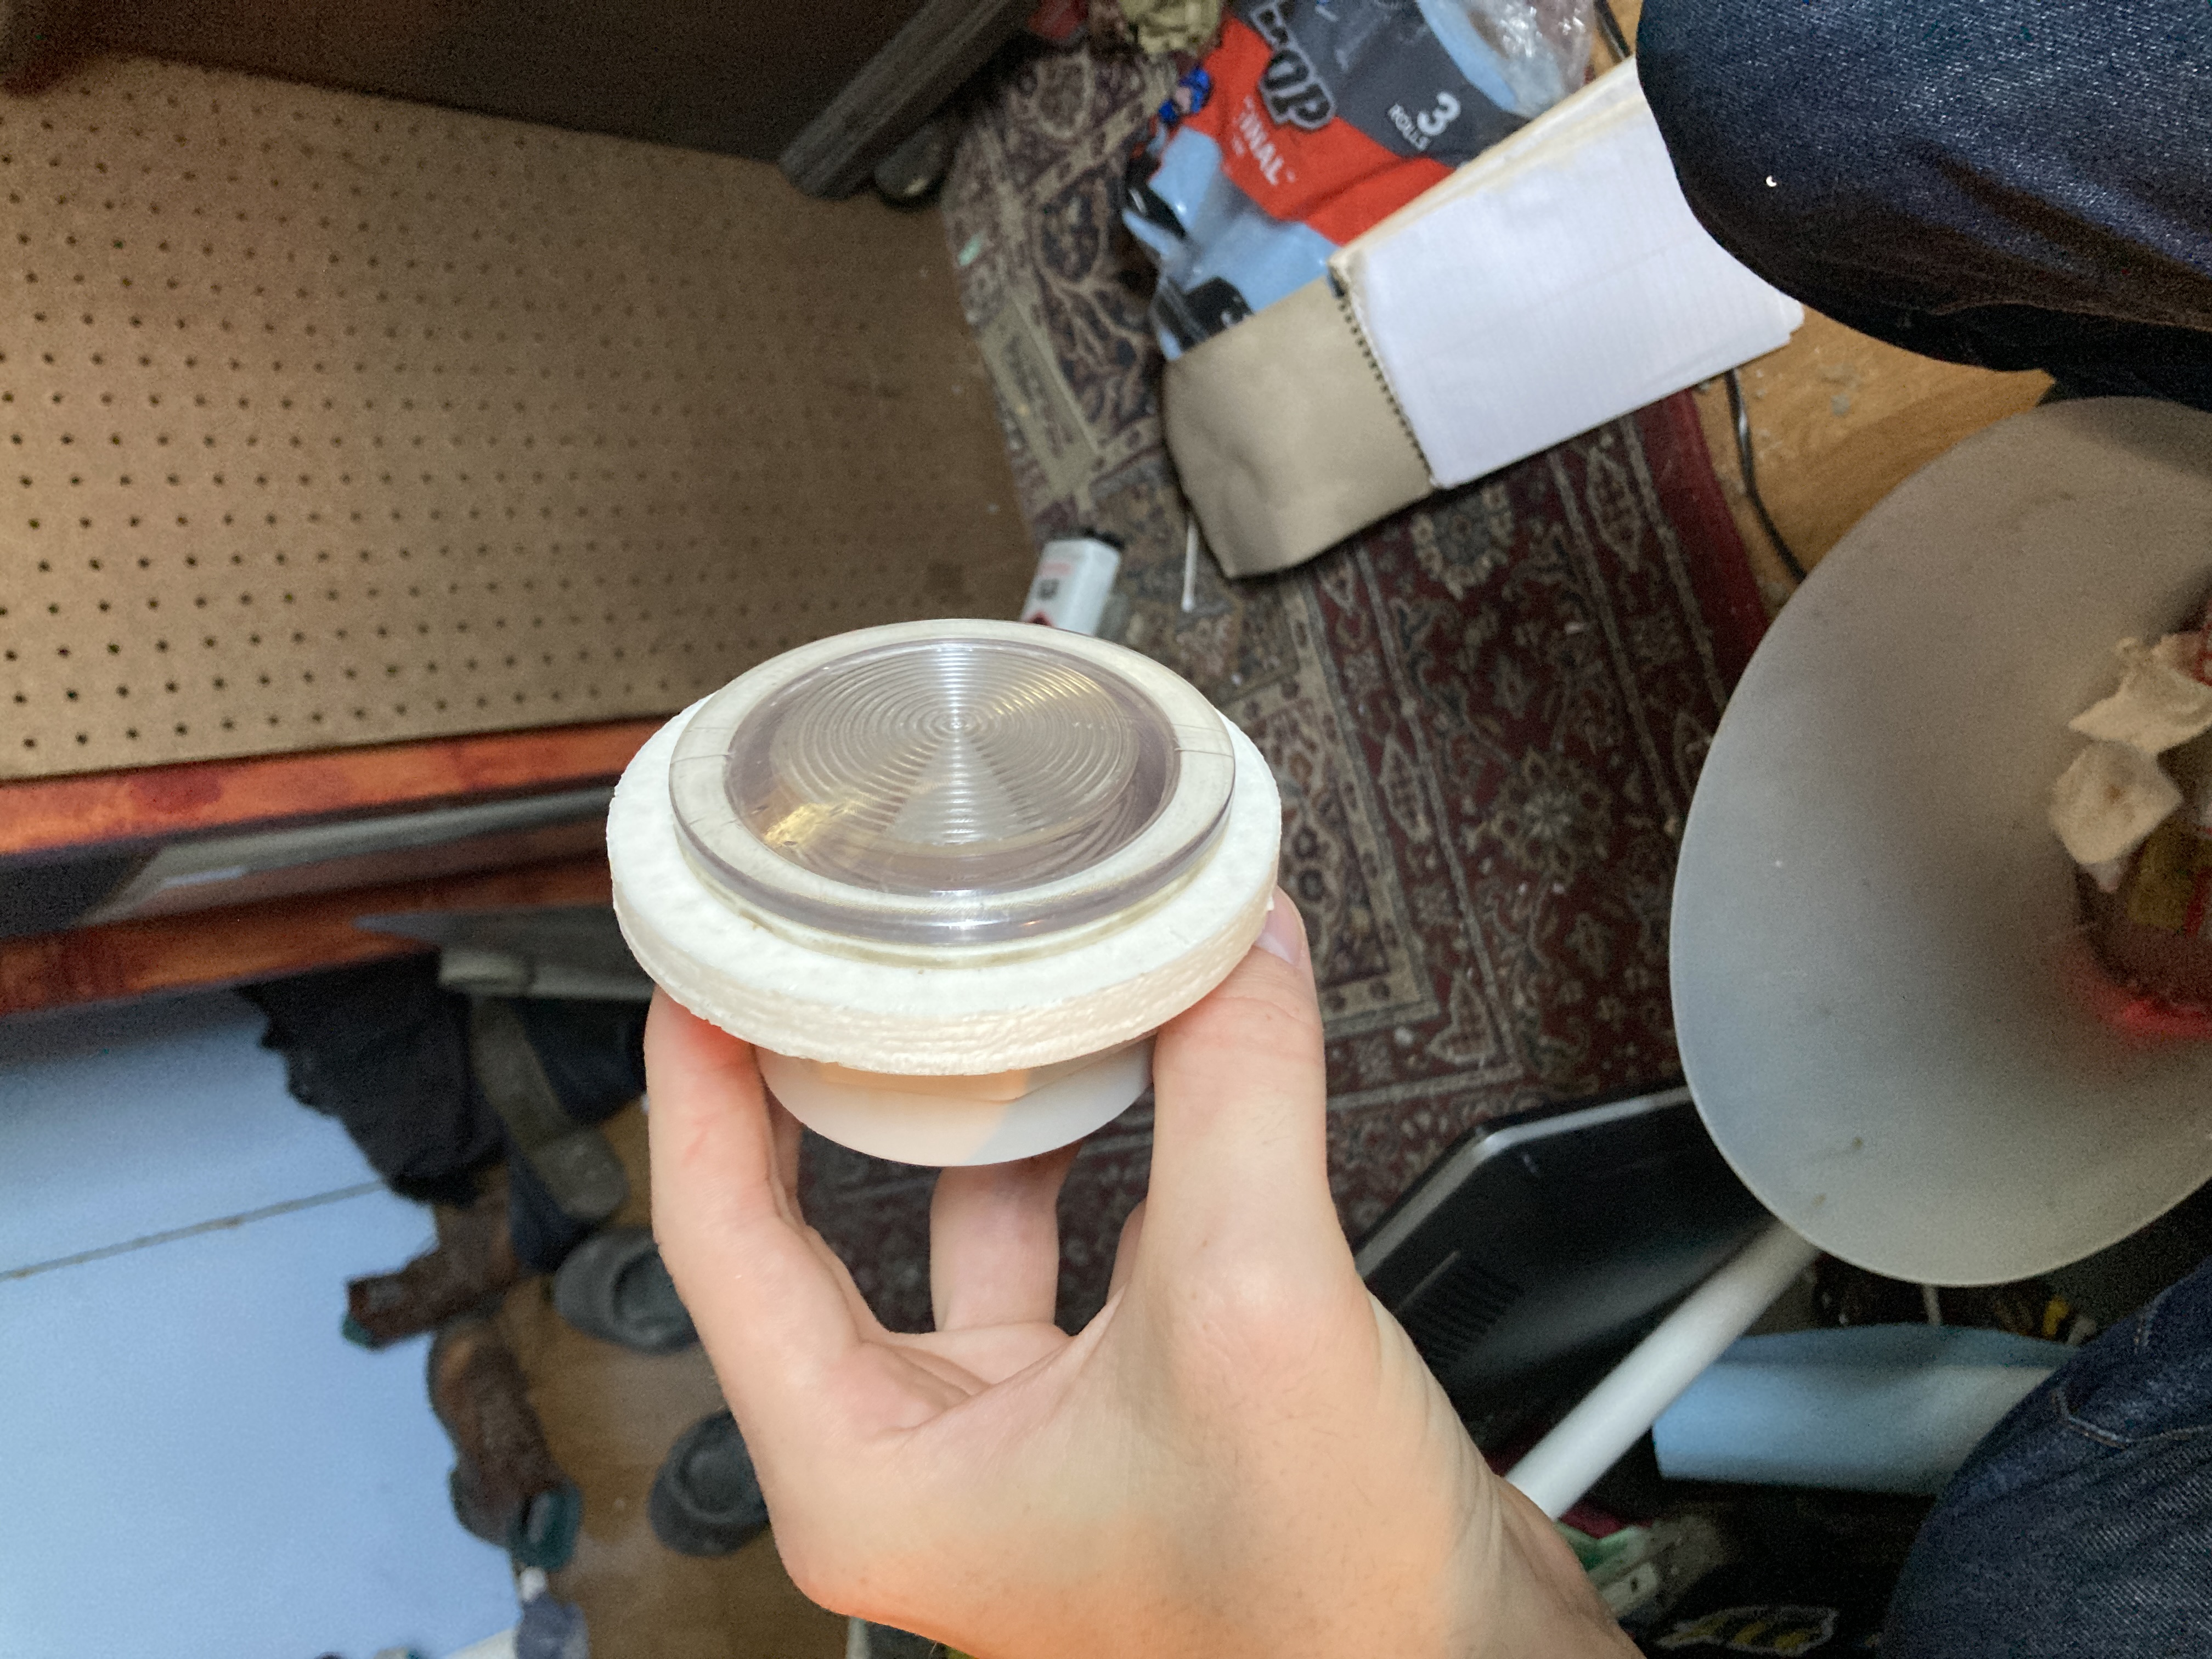
Cantern has worked quite well, and received a lot of compliments from bus drivers and passers-by. The printed mount is not ideal, and I'm looking forward to future iterations that will improve on this whole project.